Add the Secondary Navigation Menu to the About Page
Previous Step
Add a Two Columns Page Configuration
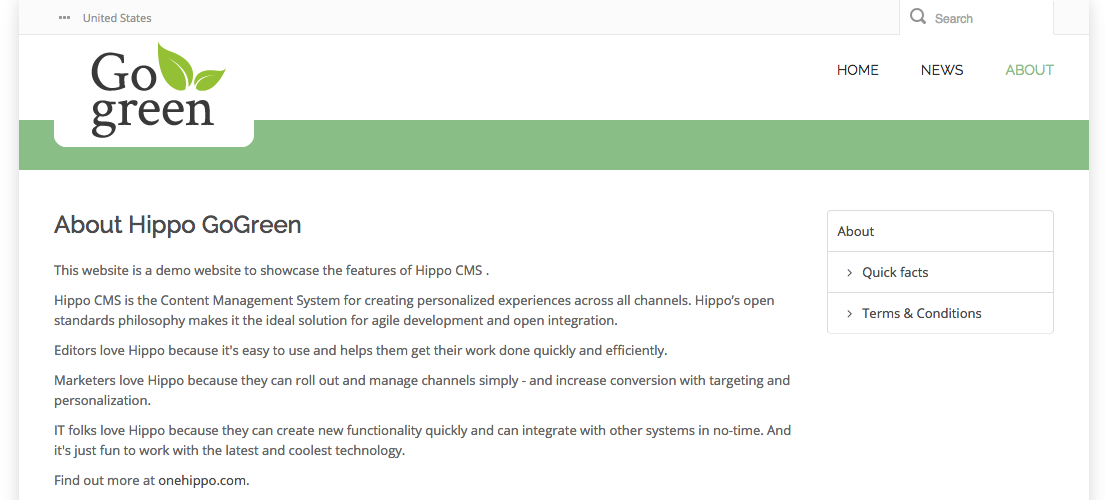
Now that you have created a two columns page configuration and made the News Overview, News Detail and Content page configurations extend it, you will now add a secondary navigation menu to the right column of the Content page configuration used by the About page.
Create a Freemarker Template for the Right Column Menu
Open the file about.html found in the web design.
Locate the element <div class="col-md-3 col-sm-3"> in about.html. This is the HTML markup for the menu in the right column. Select the <div> element and everything inside it and copy the selection to the clipboard.
Create a file bootstrap-webfiles/src/main/resources/site/freemarker/gogreen/twocolumns-right-menu.ftl in your project. This will be the template for the menu in the right column.
Add the following line to the top of the template:
<#include "../include/imports.ftl">
Below it paste the contents of the clipboard. Now the template contains static HTML for the template.
In the Console browse to the node /hst:hst/hst:configurations/gogreen/hst:templates.
Add a new child node twocolumns-right-menu of type hst:template.
Add a new property hst:renderpath to the twocolumns-right-menu node and set its value to webfile:/freemarker/gogreen/twocolumns-right-menu.ftl.
/hst:hst/hst:configurations/gogreen/hst:templates
    + twocolumns-right-menu [hst:template]
        - hst:renderpath = webfile:/freemarker/gogreen/twocolumns-right-menu.ftl
Add the Right Column to the Content Page Configuration
In the Console browse to the node /hst:hst/hst:configurations/gogreen/hst:pages/contentpage/main.
Add a new child node right of type hst:component.
Add a new property hst:template to the right node and set its value to twocolumns-right-menu.
/hst:hst/hst:configurations/gogreen/hst:pages/contentpage/main
    + left [hst:containercomponentreference]
        - hst:referencecomponent = contentpage/main/left
    + right [hst:component]
        - hst:template = twocolumns-right-menu
Load the web site in your browser and browse to the About page. The static menu is now visible in the right column.

Create Content
In the CMS open the Content tab and browse to gogreen > content.
Create two more content documents "Quick Facts" and "Terms & Conditions" (copy paste the content from the corresponding pages in the web design).
Publish the documents.
Make the Menu Dynamic
In the Console browse to the node /hst:hst/hst:configurations/gogreen/hst:workspace/hst:sitemenus/main/About.
Add a new child node Quick Facts of type hst:sitemenuitem.
Add a new property hst:referencesitemapitem to the Quick Facts node and set its value to content/quick-facts.html.
Add a new child node Terms & Conditions of type hst:sitemenuitem.
Add a new property hst:referencesitemapitem to the Terms & Conditions node and set its value to content/terms--conditions.html.
/hst:hst/hst:configurations/gogreen/hst:workspace/hst:sitemenus/main/About
    + Quick Facts [hst:sitemenuitem]
        - hst:referencesitemapitem = content/quick-facts.html
    + Terms & Conditions [hst:sitemenuitem]
        - hst:referencesitemapitem = content/terms--conditions.html
Browse to the node /hst:hst/hst:configurations/gogreen/hst:pages/contentpage/main/right.
Add a new property hst:componentclassname to the right node and set its value to org.onehippo.cms7.essentials.components.EssentialsMenuComponent. This is the out-of-the-box Menu component and retrieves a menu from the content repository.
Add a new property hst:parameternames and set its value to menu.
Add a new property hst:parametervalues and set its value to main.
/hst:hst/hst:configurations/gogreen/hst:pages/content/main/right
    - hst:componentclassname = org.onehippo.cms7.essentials.components.EssentialsMenuComponent
    - hst:parameternames = menu
    - hst:parametervalues = main
    - hst:template = twocolumns-right-menu
You have now configured the component to retrieve the main menu.
Make the Menu Dynamic
In the twocolumns-right-menu.ftl template use Freemarker syntax to make the HTML dynamically display the items in the menu.
Some hints:
- The Menu component makes the menu it retrieves from the repository available in a variable called menu which is of type org.hippoecm.hst.core.sitemenu.HstSiteMenu.
- The menu items can be accessed through the siteMenuItems attribute of the menu object.
- The child menu items of each menu item can be accessed through the childMenuItems attribute of the corresponding object.
- Each menu item has an hstLink attribute containing the resolved link for that item.
You should end up with something like this:
<#include "../include/imports.ftl">
<#if menu??>
  <div class="hst-container">
    <div class="hst-container-item">
      <#if menu.siteMenuItems??>
        <#list menu.siteMenuItems as item>
          <#if item.selected || item.expanded>
            <div class="list-group left-nav">
              <a href="<@hst.link link=item.hstLink/>" class="list-group-item level1">${item.name?html}</a>
                <#list item.childMenuItems as item>
                  <a href="<@hst.link link=item.hstLink/>" class="list-group-item level2"><i class="fa fa-angle-right"> </i>${item.name?html}</a>
                </#list>
            </div>
          </#if>
        </#list>
      </#if>
    </div>
  </div>
</#if>
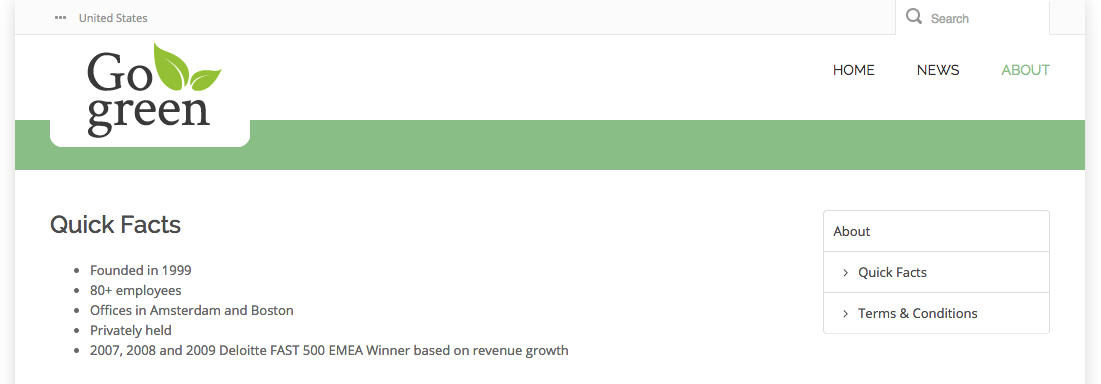
Point your browser to the About page in your web site. In the right column it now displays the menu items you added, and when you click on them they will link to the pages with the corresponding content.

Next Step
Full Source Code
twocolumns-right-menu.ftl
<#include "../include/imports.ftl">
<#if menu??>
  <div class="hst-container">
    <div class="hst-container-item">
      <#if menu.siteMenuItems??>
        <#list menu.siteMenuItems as item>
          <#if item.selected || item.expanded>
            <div class="list-group left-nav">
              <a href="<@hst.link link=item.hstLink/>" class="list-group-item level1">${item.name?html}</a>
                <#list item.childMenuItems as item>
                  <a href="<@hst.link link=item.hstLink/>" class="list-group-item level2"><i class="fa fa-angle-right"> </i>${item.name?html}</a>
                </#list>
            </div>
          </#if>
        </#list>
      </#if>
    </div>
  </div>
</#if>

