Add Features to the Project
Now that you have the blank Hippo project up and running, it is time to add features such as document types, rendering templates or components to it.
The easiest way to add such features to your project is by using the Essentials setup application. You can access it at http://localhost:8080/essentials.
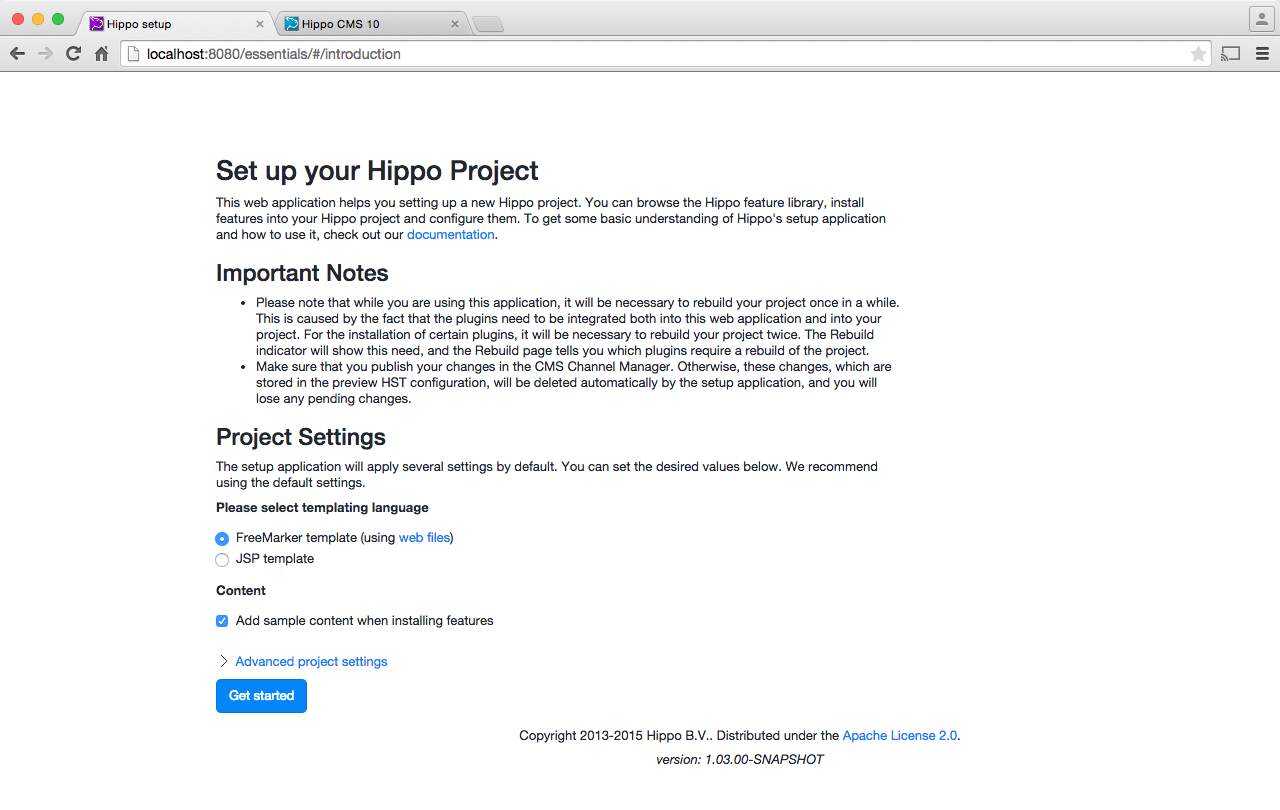
Going there for the first time, you will be presented with a welcome page.

On this page, you can configure a few global project parameters, to be used throughout your new Hippo project. Make sure you read and understand the notes. This page is only displayed when the setup application starts for the first time. Clicking on Get Started will save your settings and bring you into the Library.

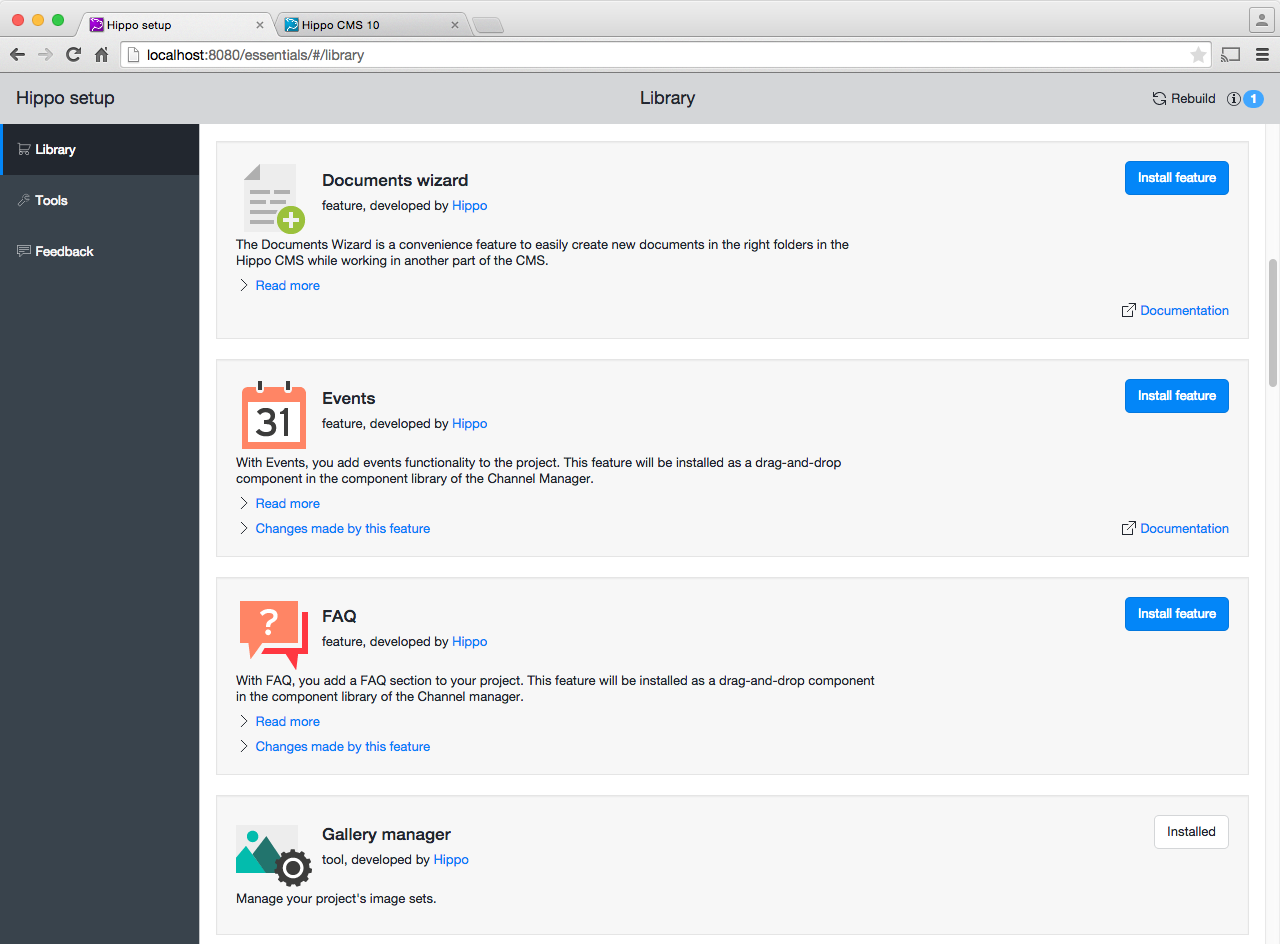
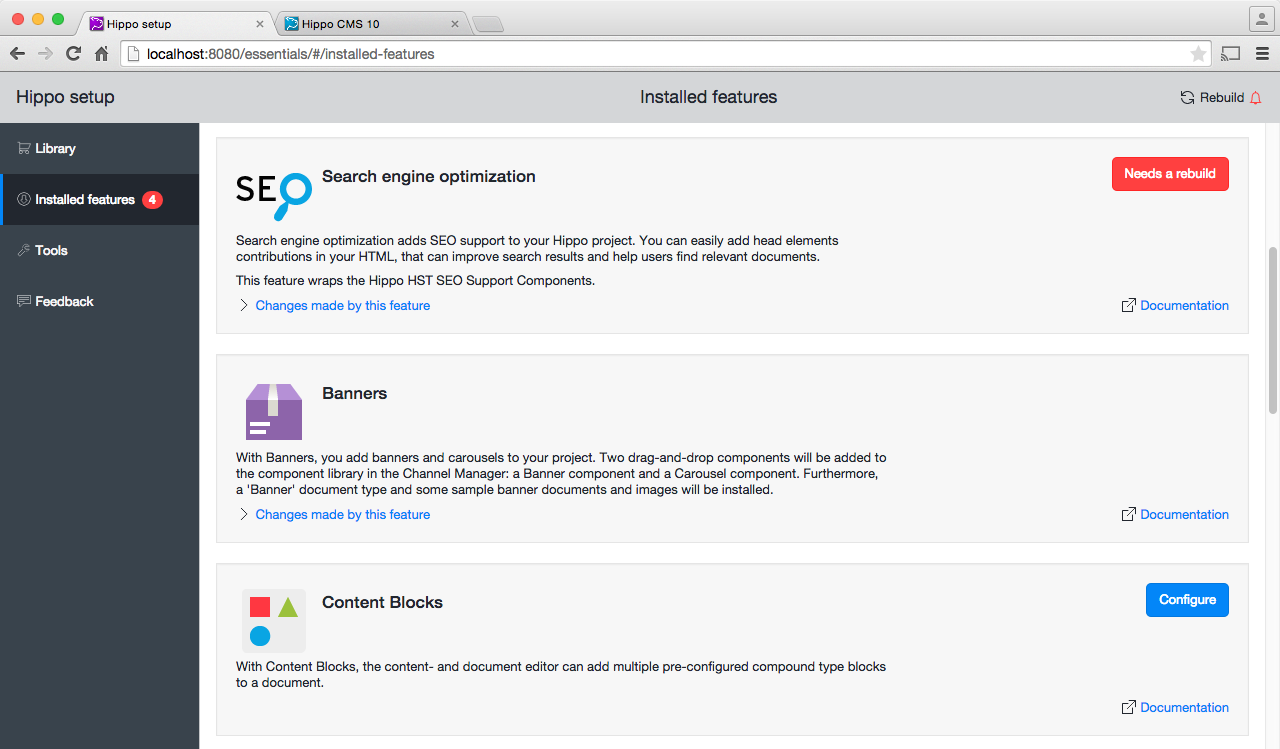
Here, you can browse the available tools and features. For now, all tools are pre-installed. Browse the features and determine which ones you'd like to add to your project. For all of them, clicking on the Install feature button will install the feature into the setup application. Installed features show up on the Installed features page.

Depending on your project settings, some features may require you to specify a few set-up parameters, and some features may require you to rebuild and restart your project. This is indicated per feature on the Installed features page, as well as on the Installed features menu item and in the dashboard's upper right corner.
Feature not found?
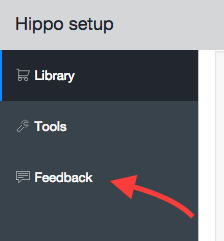
If you don't find a plugin doing what you're looking for, you may want to tell us about the desired functionality by using the built-in Feedback mechanism. This may trigger us to create such a plugin.

To get the desired feature when no plugin is available, you can build the feature directly into your project, using our technical documentation and instructions, or - if you believe that the feature will add value to other projects as well - you can build a plugin yourself.
Continue to rebuild the project.

