Develop the Products Feature Part 2: Products Overview Page
Previous Step
Develop the Products Feature Part 1: Products Document Type
Now that you have created the Product document type and content bean you can implement the Products Overview page. You will configure the page and URL, use an out-of-the-box Java component to implement the business logic, and write a Freemarker template to render the products.
Products Overview Page
Open the Hippo Console in your browser: http://localhost:8080/cms/console/. Log in as user 'admin' with password 'admin'.
Browse to the node /hst:hst/hst:configurations/gogreen/hst:pages. This is where the page configurations are stored.
Add a new node called productslist of type hst:component.
Add a property hst:referencecomponent to the productslist node and enter the value hst:abstractpages/twocolumns.
/hst:hst/hst:configurations/gogreen/hst:pages
    + productslist [hst:component]
        - hst:referencecomponent = hst:abstractpages/twocolumns
You have now defined a new page configuration productslist that extends the abstract twocolumns page configuration you defined earlier. You will define what goes in the content area later.
Browse to the node /hst:hst/hst:configurations/gogreen/hst:sitemap. This is where URLs are mapped to content paths and page configurations.
Add a new node called products of type hst:sitemapitem.
Add a property hst:componentconfigurationid to the products node and enter the value hst:pages/productslist.
Add a property hst:relativecontentpath to the products node and enter the value products.
/hst:hst/hst:configurations/gogreen/hst:sitemap
    + products [hst:sitemapitem]
        - hst:componentconfigurationid = hst:pages/productslist
        - hst:relativecontentpath = products
You have now defined a (relative) URL products that uses the productslist page configuration to display the content at the path products (relative to the content root folder).
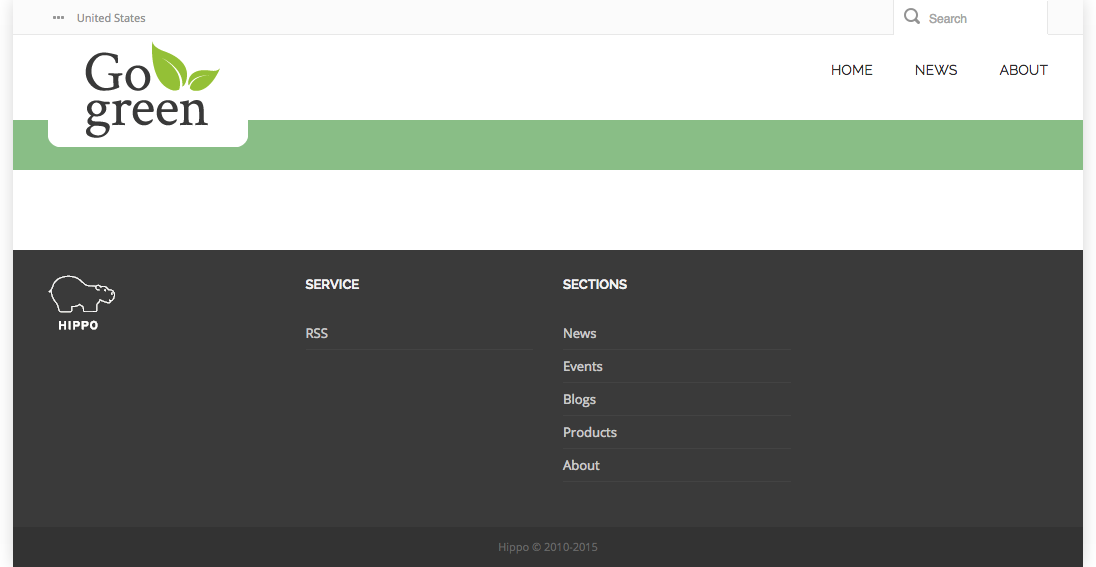
Point your browser to the new URL you defined: http://localhost:8080/site/products. At this point, it displays the common page elements and a still empty content area.

Products Overview Business Logic
The business logic for a Hippo component is implemented by a Java class. Although it's possible to write the Java code from scratch, Hippo Developer Essentials include out-of-the-box components for many use cases. The List Component retrieves a collection of documents from the content repository and makes them available in a paginated list. This is exactly what is needed for the Products Overview.
The documentation of the List Component tells you exactly what you need to know to use it:
- The fully qualified Java class name: org.onehippo.cms7.essentials.components.EssentialsListComponent.
- The name of the render attribute holding the paginated list of product documents: pageable.
Products Overview Template
The List Component does not come with a standard template. You need to create it yourself.
Open the file products.html found in the web design.
Locate the element <div class="col-md-9 col-sm-9">. This contains the HTML markup for the Products Overview.
Create a file bootstrap-webfiles/src/main/resources/site/freemarker/gogreen/productslist.ftl in your project. This will be the Freemarker template that renders the Products Overview.
Add the following line to productslist.ftl:
<#include "../include/imports.ftl">
You will implement the actual template in a minute.
Open the Hippo Console in your browser and browse to the node /hst:hst/hst:configurations/gogreen/hst:templates. This is where the templates are configured.
Add a new node called productslist of type hst:template.
Add a property hst:renderpath to the productslist node and enter the value webfile:/freemarker/gogreen/productslist.ftl.
/hst:hst/hst:configurations/gogreen/hst:templates
    + productslist [hst:template]
        - hst:renderpath = webfile:/freemarker/gogreen/productslist.ftl
Browse to the node /hst:hst/hst:configurations/gogreen/hst:pages/productslist.
Add a new node called main of type hst:component.
Add a child node called left of type hst:component to main.
Add a property hst:componentclassname to the left node and enter the fully qualified name of the List Component's Java class: org.onehippo.cms7.essentials.components.EssentialsListComponent.
Add a property hst:template to the left node and enter the value productslist.
/hst:hst/hst:configurations/gogreen/hst:pages/productslist
    + main [hst:component]
        + left [hst:component]
            - hst:componentclassname = org.onehippo.cms7.essentials.components.EssentialsListComponent
            - hst:template = productslist
You have now configured the left column of the two columns content area of the productslist page to use the List component for its business logic and the productslist template to render the results.
Open the template productslist.ftl again.
Use Freemarker syntax to dynamically render the product documents as HTML that conforms to the web design. It will be very similar to the News Overview template you worked on in the previous sprint. Some hints:
- The image variant used in the product overview is 'smallsquare'.
- Products ratings are out of scope in this sprint, you can comment out the related markup ( <#-- -->).
- You can include the same pagination template as you have used before.
You should end up with something like this:
<#include "../include/imports.ftl">
<#if pageable??>
  <div class="isotope" id="masonry-elements">
    <#list pageable.items as item>
      <@hst.link var="link" hippobean=item/>
      <div class="feature blog-masonry isotope-item">
        <#if item.images?? && item.images[0].smallsquare??>
          <@hst.link var="img" hippobean=item.images[0].smallsquare />
          <div class="feature-image img-overlay">
            <img src="${img}" alt="" />
            <div class="item-img-overlay">
              <div class="item_img_overlay_link">
                <a href="${link}" title="${item.title?html}"> </a>
              </div>
              <div class="item_img_overlay_content">
                <h3 class="thumb-label-item-title">
                  <a href="${link}">Add to cart</a>
                </h3>
              </div>
            </div>
          </div>
        </#if>
        <div class="feature-content">
          <h3 class="h3-body-title blog-title">
            <a href="${link}">${item.title?html}</a>
          </h3>
          <p>${item.introduction?html}</p>
        </div>
        <div class="feature-details">
          <img src="<@hst.webfile path="/images/icon-banknote.png"/>" class="icon">
          <span><@fmt.formatNumber value="${item.price}" type="currency" /></span>
          <#--<div class="feature-share"><span data-score="3.5" class="product-rating"/></div>-->
        </div>
      </div>
    </#list>
  </div>
  <#if cparam.showPagination>
    <#include "../include/pagination.ftl">
  </#if>
</#if>
Head Contributions
The Products Overview page in the web design makes use of a number of scripts and style sheets. You will need to include them in the page.
Open the file products.html again and locate the CSS and Javascript references that are specific to this page. They are marked with the following comments:
<!-- start page specific css -->

<!-- end page specific css -->
and:
<!-- start page specific js -->

<!-- end page specific js -->
Each of those references needs to be included in the productpage-main.ftl template as a head contribution. A head contribution allows any template to add HTML markup to the HTML <head> element which is typically found in the top level component's template ( bootstrap-webfiles/src/main/resources/site/freemarker/gogreen/base-layout.ftl in your project).
It doesn't really matter where in the template you add the head contributions, but it makes sense to group them together at the top or the bottom.
Some hints:
- Each <@hst.headContribution> tag can only contain one child element, typically <script> or <link>. The child element can have any number of child elements.
- You can specify different categories of head contributions through the category attribute. Look at the top level component's template ( bootstrap-webfiles/src/main/resources/site/freemarker/gogreen/base-layout.ftl) to see which categories are expected.
- You can look at bootstrap-webfiles/src/main/resources/site/freemarker/hstdefault/essentials-carousel.ftl for inspiration.
You will end up with something like this:
<@hst.headContribution category="htmlHead">
  <link rel="stylesheet" href="<@hst.webfile path="/css/jquery.raty.css"/>" />
</@hst.headContribution>
<@hst.headContribution category="htmlBodyEnd">
  <script type="text/javascript" src="<@hst.webfile path="/js/jquery.raty.js"/>"></script>
</@hst.headContribution>
<@hst.headContribution category="htmlBodyEnd">
  <script type="text/javascript" src="<@hst.webfile path="/js/jquery.isotope.js"/>"></script>
</@hst.headContribution>
<@hst.headContribution category="htmlBodyEnd">
  <script type="text/javascript">
    jQuery(document).ready(function($) {

      $(window).resize(function() {
          $('#masonry-elements,.portfolio-items').isotope('reLayout');
      });

      var $cont = $('.portfolio-items');

      $cont.isotope({
          itemSelector: '.portfolio-items .thumb-label-item',
          masonry: {columnWidth: $('.isotope-item:first').width(), gutterWidth: 6},
          filter: '*',
          transformsEnabled: false,
          layoutMode: 'masonry'
      });

    });

    $(window).load(function() {
      var $masonryElement = $('#masonry-elements');
      $masonryElement.isotope({
        transformsEnabled: false,
        masonry: {
          columnWidth: 235,
          gutterWidth: 15
        }
      });
      $('#masonry-elements,.portfolio-items').isotope('reLayout');
    });

    $('#masonry-elements .product-rating').raty({
        score: function() {
            return $(this).attr('data-score');
        },
        readOnly: true,
        half: true,
        starType :  'i'
    });
  </script>
</@hst.headContribution>
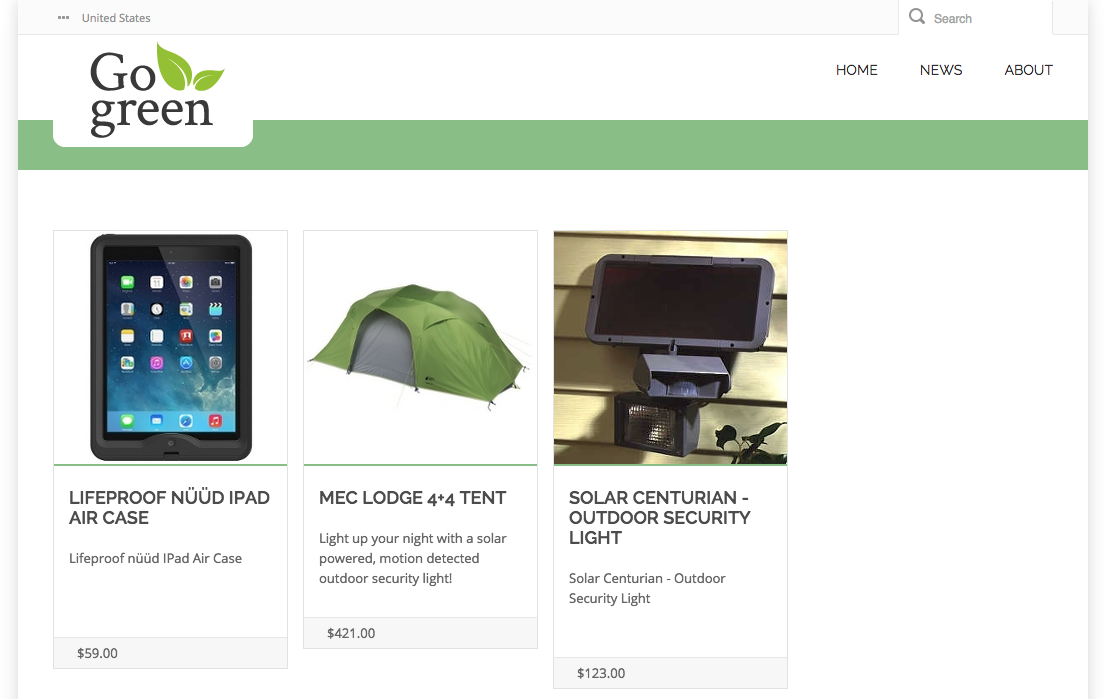
Point you browser to http://localhost:8080/site/products. It will display the products you entered in the CMS.

Navigation
Now that the Products Overview page is fully functional, you can add a link to it to the navigation menu.
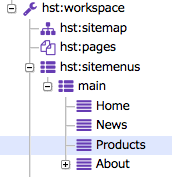
In the Hippo Console browse to the node /hst:hst/hst:configurations/gogreen/hst:workspace/hst:sitemenus/main.
Add a new node called Products of type hst:sitemenuitem.
Add a property hst:referencesitemapitem to the Products node and enter the value products.
Use the 'Up' button in the top menu to move the Products node up so it is between News and About

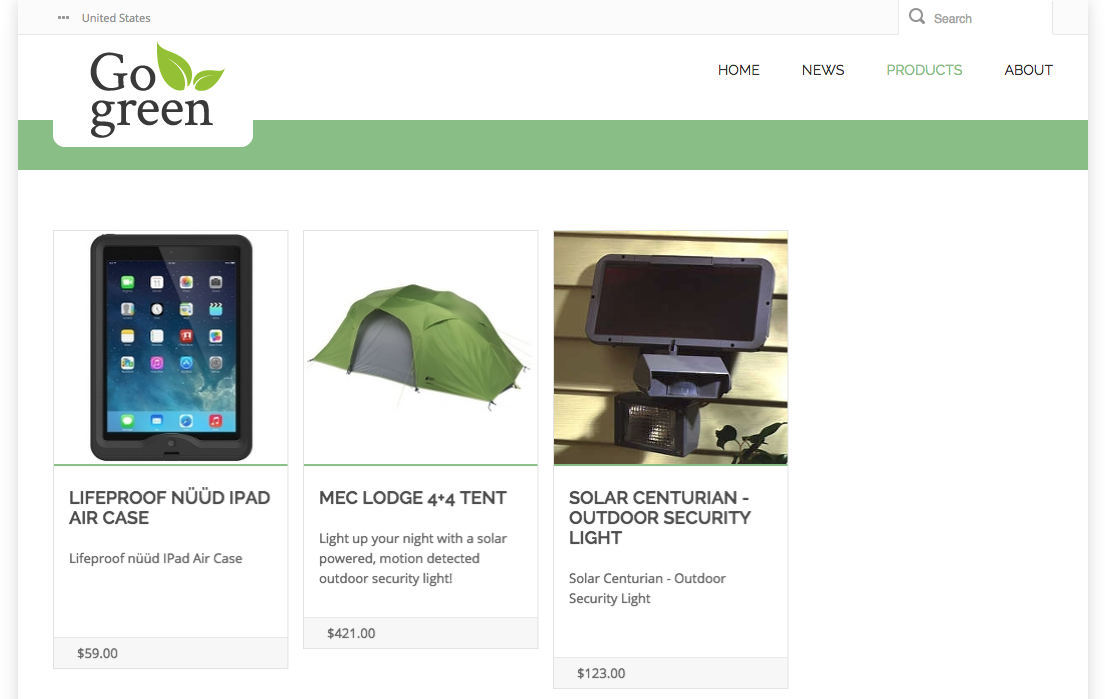
Reload the site in your browser. You will see the Products item appear in the navigation menu and when you click on it the Products Overview page will load.

Next Step
Develop the Product Feature Part 3: Product Detail Page
Full Source Code
productslist.ftl
<#include "../include/imports.ftl">
<#if pageable??>
  <div class="isotope" id="masonry-elements">
    <#list pageable.items as item>
      <@hst.link var="link" hippobean=item/>
      <div class="feature blog-masonry isotope-item">
        <#if item.images?? && item.images[0].smallsquare??>
          <@hst.link var="img" hippobean=item.images[0].smallsquare />
          <div class="feature-image img-overlay">
            <img src="${img}" alt="" />
            <div class="item-img-overlay">
              <div class="item_img_overlay_link">
                <a href="${link}" title="${item.title?html}"> </a>
              </div>
              <div class="item_img_overlay_content">
                <h3 class="thumb-label-item-title">
                  <a href="${link}">Add to cart</a>
                </h3>
              </div>
            </div>
          </div>
        </#if>
        <div class="feature-content">
          <h3 class="h3-body-title blog-title">
            <a href="${link}">${item.title?html}</a>
          </h3>
          <p>${item.introduction?html}</p>
        </div>
        <div class="feature-details">
          <img src="<@hst.webfile path="/images/icon-banknote.png"/>" class="icon">
          <span><@fmt.formatNumber value="${item.price}" type="currency" /></span>
          <#--<div class="feature-share"><span data-score="3.5" class="product-rating"/></div>-->
        </div>
      </div>
    </#list>
  </div>
  <#if cparam.showPagination>
    <#include "../include/pagination.ftl">
  </#if>
</#if>

<@hst.headContribution category="htmlHead">
  <link rel="stylesheet" href="<@hst.webfile path="/css/jquery.raty.css"/>" />
</@hst.headContribution>
<@hst.headContribution category="htmlBodyEnd">
  <script type="text/javascript" src="<@hst.webfile path="/js/jquery.raty.js"/>"></script>
</@hst.headContribution>
<@hst.headContribution category="htmlBodyEnd">
  <script type="text/javascript" src="<@hst.webfile path="/js/jquery.isotope.js"/>"></script>
</@hst.headContribution>
<@hst.headContribution category="htmlBodyEnd">
  <script type="text/javascript">
    jQuery(document).ready(function($) {

      $(window).resize(function() {
          $('#masonry-elements,.portfolio-items').isotope('reLayout');
      });

      var $cont = $('.portfolio-items');

      $cont.isotope({
          itemSelector: '.portfolio-items .thumb-label-item',
          masonry: {columnWidth: $('.isotope-item:first').width(), gutterWidth: 6},
          filter: '*',
          transformsEnabled: false,
          layoutMode: 'masonry'
      });

    });

    $(window).load(function() {
      var $masonryElement = $('#masonry-elements');
      $masonryElement.isotope({
        transformsEnabled: false,
        masonry: {
          columnWidth: 235,
          gutterWidth: 15
        }
      });
      $('#masonry-elements,.portfolio-items').isotope('reLayout');
    });

    $('#masonry-elements .product-rating').raty({
        score: function() {
            return $(this).attr('data-score');
        },
        readOnly: true,
        half: true,
        starType :  'i'
    });
  </script>
</@hst.headContribution>

