Enterprise Forms Plugin
Introduction
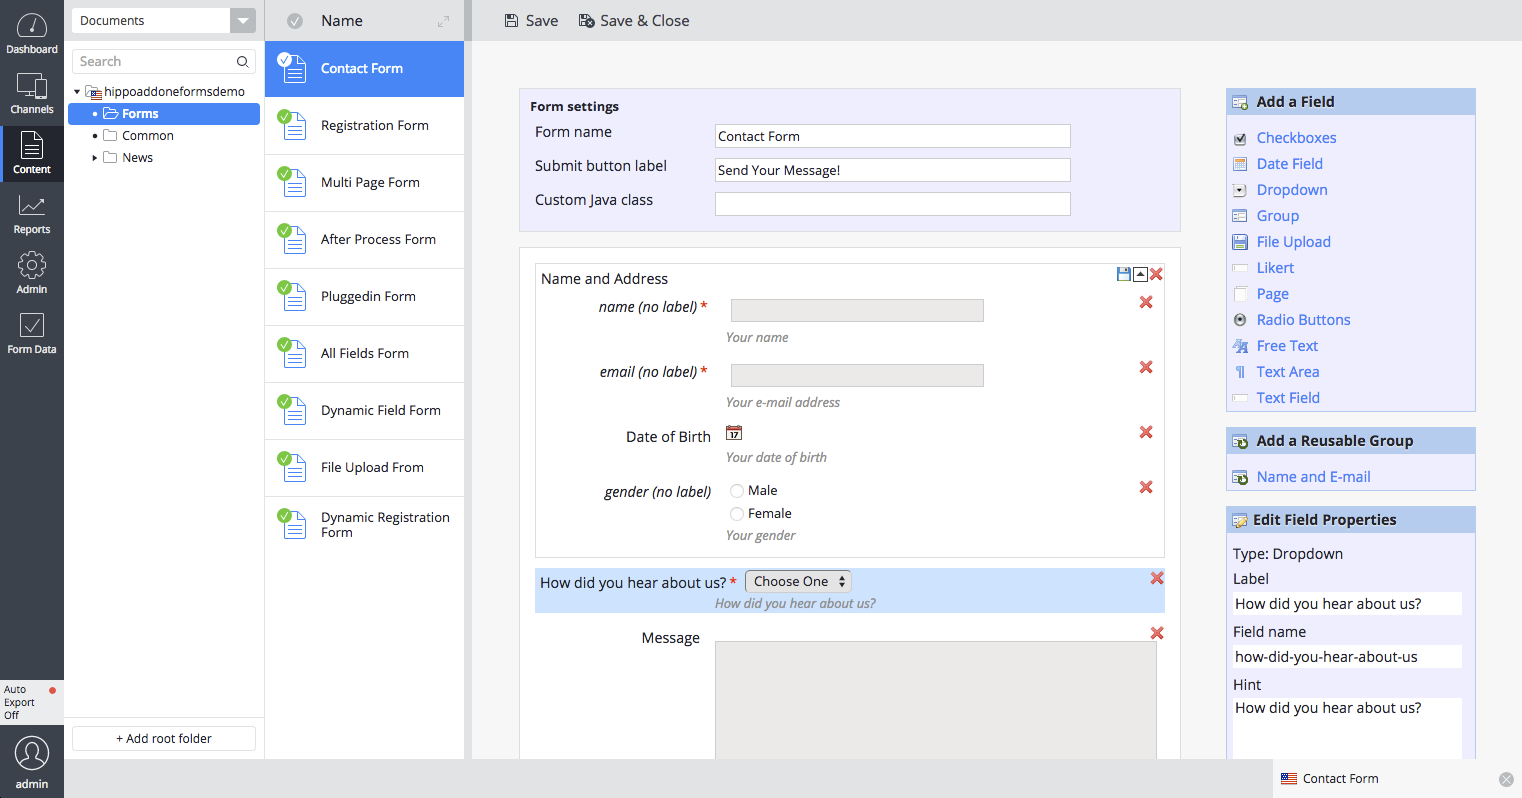
The Enterprise Forms plugin allows you to build simple HTML forms within Hippo CMS. Standard features include multi-page forms, custom validation, form data persistence and export, form submission by e-mail, confirmation by e-mail, and many common form field types and validation rules.
Enterprise Forms is extensible. It supports custom field types and validation rules, and pluggable behaviors.

Installation Instructions
This plugin consists of three modules: a CMS module, a repository module and an HST module.
Instructions on how to obtain and install the CMS and repository modules can be found on the Install CMS Plugin page.
Instructions on how to obtain and install the HST module can be found on the Install HST Components page.
Finally make sure you configure Enterprise Forms correctly.
Versions and Compatibility
The Hippo Enterprise Release POM defines the version of Enterprise Forms that is compatible with a release in the property hippo.addon-eforms.version. This property should only be temporarily overridden by implementation projects when a bugfix of Enterprise Forms is released in between Hippo CMS releases.
Enterprise Forms Migration Demo Project
If your project is still on version 7.8, then the Enterprise Forms Migration Demo Project can be used to experiment with migrating Easy Forms documents to Enterprise Forms documents. As of 7.9 Easy Forms plugin support has been dropped, so there is no migration demo project for 7.9. This Enterprise Forms Migration Demo Project is deployed as a .zip file in the Maven repository. All versions of the Migration Demo Project are located under:
https://maven.onehippo.com/maven2-enterprise/com/onehippo/cms7/hippo-addon-eforms-migration-demo/
Pick the same Migration Demo Project version as the Enterprise Forms version you are using.
You can build and run the Enterprise Forms Migration Demo Project, like any other Hippo project, using Maven. See the included README.txt for detailed instructions.
Build
In the root folder of your local copy of the Enterprise Forms Demo Application, you can build it like the following:
$ mvn clean install
Run Tomcat with cargo.run Profile
Now, run Tomcat with cargo.run profile in the root folder:
$ mvn -P cargo.run
Like other Hippo projects, you can create a distribution tar.gz file to deploy it to other Tomcat server. See Hippo documentation for detail.
SMTP E-Mail Session Configuration
SMTP connection configuration is configured in conf/context.xml like this:
  <Resource name="mail/Session"
            auth="Container"
            type="javax.mail.Session"
            mail.smtp.host="localhost"
            mail.smtp.port="2525" />
If you use a different SMTP port or an external SMTP server, then please change the configuration there.
For setting up a local SMTP server for testing, refer to the following section.
Running an SMTP Server for local testing
It is very handy to be able to run an SMTP server locally to test with if you don't have access to a full mail server.
If you've got Python 2.x installed, then you can do this really easily.
Assuming you want to open the SMTP Server at port, 2525, you can run the following:
$ python -m smtpd -n -c DebuggingServer localhost:2525
When the app sends an e-mail, you should be able to see it scroll by on your terminal.
If you want to open SMTP server socket at a different port (e.g, 25) instead, then you can put port number argument like the following:
$ sudo python -m smtpd -n -c DebuggingServer localhost:25
The above command will open the server port at 25 instead. (By the way, in most operating systems, opening a port below 1024 requires `sudo' access.)
WARNING: This is only for local testing purpose, dumping the message in console, having no knowledge on how to handle the messages.
If you don't have Python 2.x installed, download Python 2.7 installer package from the following siteand install it on your system. - http://www.python.org/download/
How to Test Enterprise Forms Migration Demo Project
To test the Enterprise Forms Migration Demo project, you can do the following steps:
- Visit CMS application; Go to the Development Perspective, and select the Updater Editor.
- In the Registry Folder, select the "Hippo Addon Enterprise Forms - Easy Forms Document Migrator" updater script, and click the "Execute" button.
- After the execution of the updater script, navigate to the Document Perspective, and find "All fields form (Migrated)" document which has been just created by the above step.
- Review the newly created form document and mark the check box labeled "Mail form data".
- Publish the form document.
- Now, visit SITE application and click "allfieldsform-migrated" site menu. See if the form is working fine. If it was successful migrated, then you will be able to see an e-mail message sent.

