Page Management
Webmasters can add, edit, move, copy and delete individual pages in the Channel Editor.
Adding a page
In order to add a new page, it does not matter what page you are currently looking at.
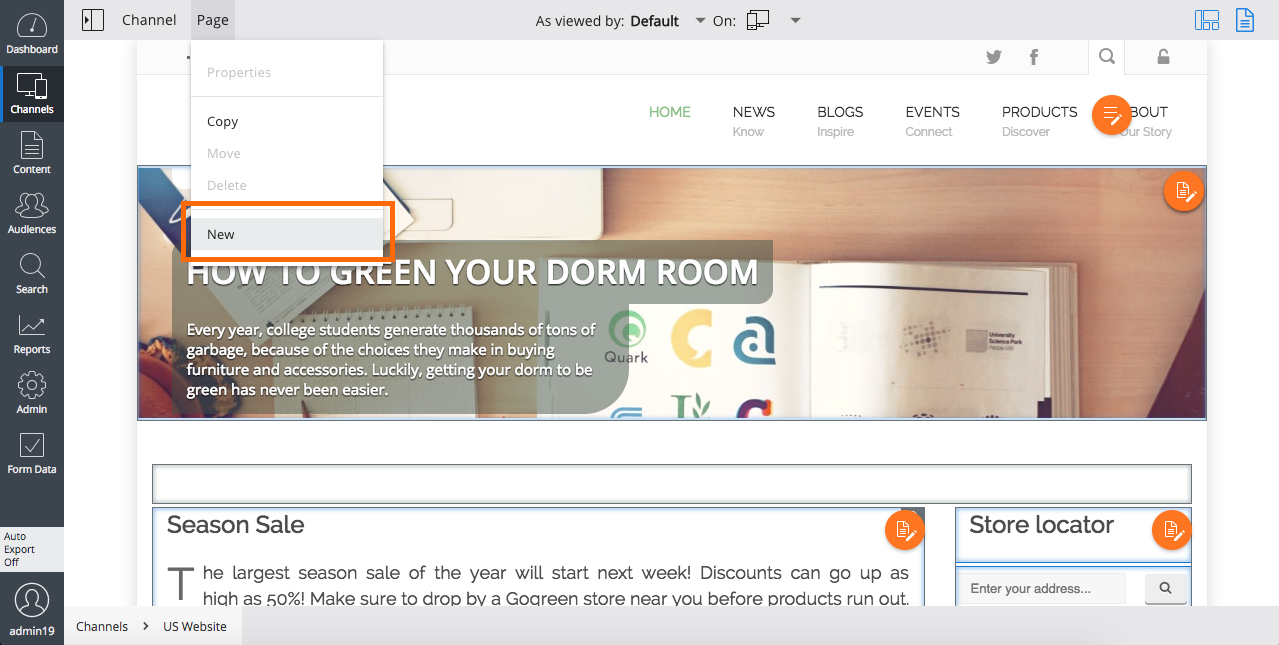
In Edit mode, the toolbar of the Channel Editor displays a Page drop-down, which includes the New option. If the current channel is configured to support the creation of new pages, this option is enabled, and selecting it opens the New page form.

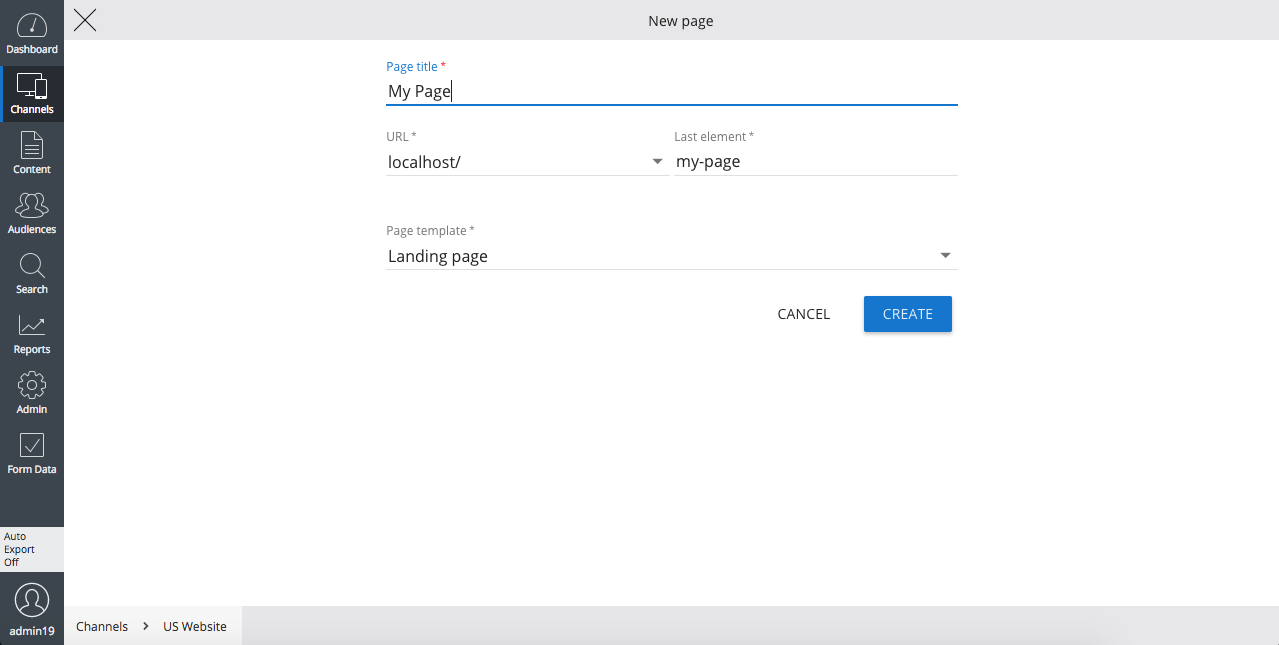
Here, you must specify a page title (used for the Sitemap Navigation, see below), compose a URL and select a page template. The URL consist of two parts: the "stem", which refers to an existing sitemap item, under which to add the new URL, and the Last element. The URL of the page is determined by concatenating these two parts. The Page template determines the layout of the page and which containers will be available. Upon creation of a new page, you return to the Channel Editor, which now displays the added page. So far, the page is only visible in the Channel Editor. In order to publish the page to the live channel, publish your changes. To revert your action, discard your changes.
Technical details
In order to be able add a page for a certain channel, that channel must have at least one URL "stem" for attaching the page, and there must be at least one prototype page available to add a new page. When a new page is saved, the back-end performs the following steps:
- Copy the selected prototype page into the hst:pages section of the channel's workspace.
- Add a sitemap item to the hst:sitemap section of the channel's workspace, based on the page's URL.
- Store the page title in the property hst:pagetitle of the new sitemap item.
- Link the new sitemap item to the copied page definition.
The following Freemarker snippet illustrates how to render the title of a page:
<@hst.defineObjects/>
The page title is: ${hstRequestContext.resolvedSiteMapItem.pageTitle?html}
or in JSP:
<hst:defineObjects/>
The page title is: <c:out value="${hstRequestContext.resolvedSiteMapItem.pageTitle}"/>
Managing a page
Existing pages can be edited, moved copied or deleted.
Selecting which page to manage
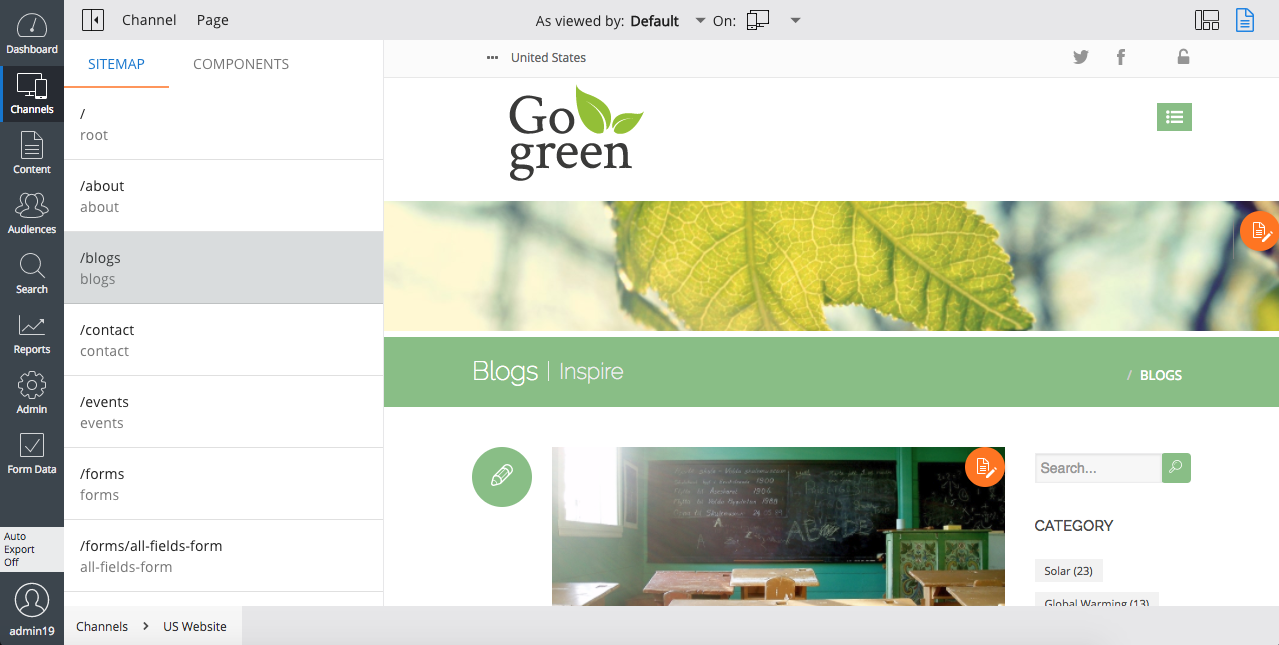
In order to manage an existing page, you must navigate to that page. You can use the site's menu structure, follow internal links or use the Sitemap navigation to navigate to the desired page. In order to use the Sitemap navigation, open the side-nav by clicking on the side-nav icon in the top left corner of the toolbar, and make sure that the Sitemap tab is selected. The side-nav displays a list of the channel's sitemap items. Clicking on a specific sitemap item takes you to the corresponding page.
Controlling the Sitemap navigation
You can suppress a sitemap item from showing up in the Sitemap navigation by setting the hst:hiddeninchannelmanager property on that item. This can be used to hide sidemap items not relevant to the webmaster, e.g. a sitemap item representing an RSS feed.
/hst:sitemap:
  /rss:
    hst:hiddeninchannelmanager: true
    /nested-rss-sitemap-item:
Sitemap items nested inside a hidden sitemap item are also hidden from the Sitemap navigation.
Selecting a page management action
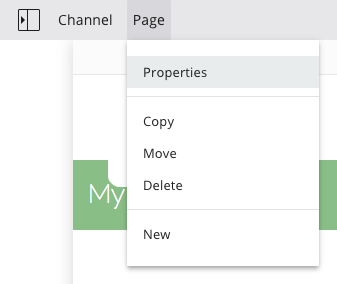
In Show components mode, the toolbar of the Channel Editor displays a Page drop-down, which gives access to the available page management actions.
Editing a page
Pages that are stored in the channel's workspace and which are not locked (i.e.being changed) by another user can be edited. Select the Properties action from the drop-down to get to the page properties form.

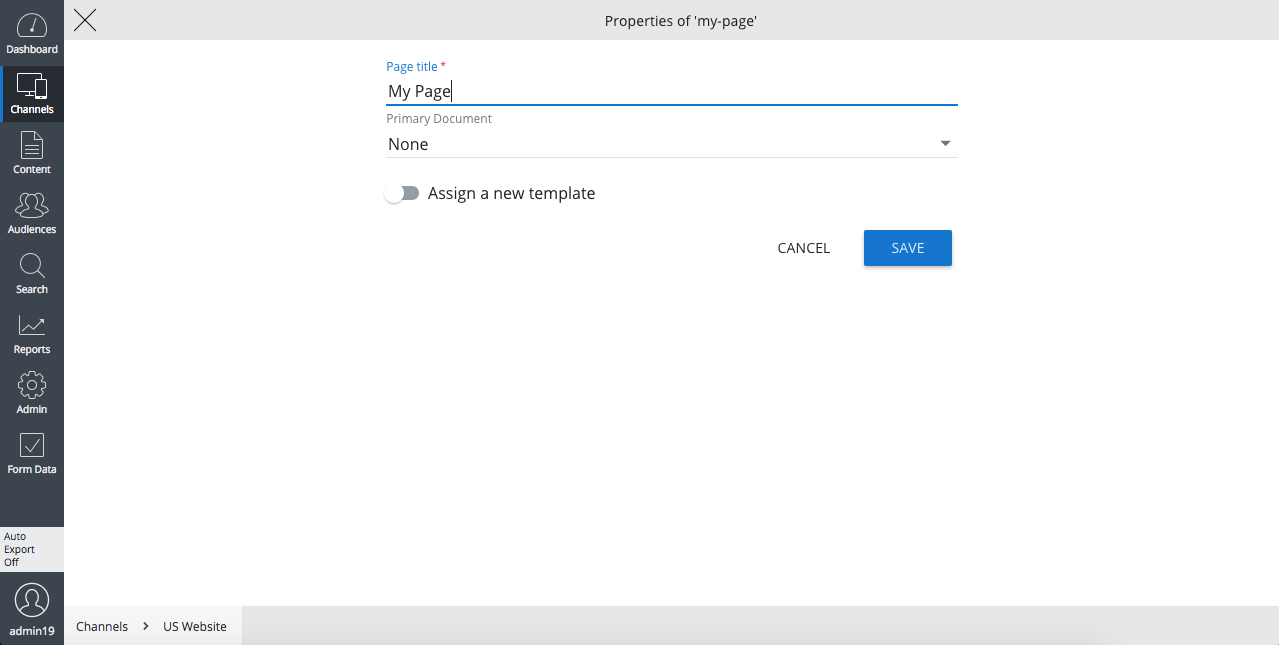
Here, you can change the page title, select a Primary Document and assign a new template to your page.
Primary Document
The primary document of a page can be chosen from a set of documents referenced by the components on that page. For example, if the page displays a container component which pulls in content from document X, then document X is available to be selected as the primary document of this page. Selecting a document as the primary document of a page has the following effects:
- You can create a link to this page by specifying an internal link to its primary document.
- HST makes the primary document available through HstRequestContext#getContentBean() when this page is requested. This can be used f. e. by the TagsCollector of the Relevance feature to add metadata of the primary document to the profile of the visitor.
- Existing internal links to the primary document produce links to this page.
Assign a new template
The Channel Editor offers the ability to assign a new template to an existing page. This will change the layout of the page. If the page currently contains containers with components, these components have to be reassigned to the containers of the new template. If the new template has no containers, the components must be dropped. In both scenarios, the form shows an alert message when selecting a new template. The effect of reassigning a new template can be undone by leaving the Edit page form and discarding your changes to the current channel.
If existing container components are reshuffled, the following strategy is applied:
- Items stay in containers with the same name
When the new page definition has a container with the same JCR node name as a container in the old page definition, all items in it will be moved from the old to the new container. The order of the items will remain the same. - Items move to the container designated as the 'primary' container
Leftover items will be moved to the primary container of the new page definition. The primary container is defined by the property hst:primarycontainer, and contains the path to the primary container relative to the root node of the page definition. - Items move to the first container in the page definition
Leftover items are moved to the first container in the page definition.
To make your changes effective in the live channel, publish your changes. To revert them, discard your changes.
Copying a page
If a channel is set up to create pages in it, any page can be copied into that channel. While the original page may not be editable, its copy will be. Your CMS project can be configured to allow or disallow copying of a page from one channel into another channel. Also, there is a software hook to add custom actions to the page copy process.
Select the Copy action from the drop-down to get to the Copy page form.
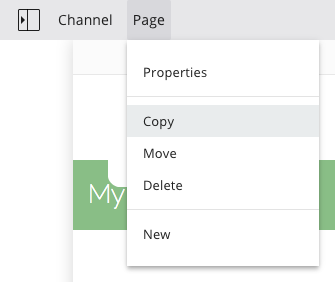
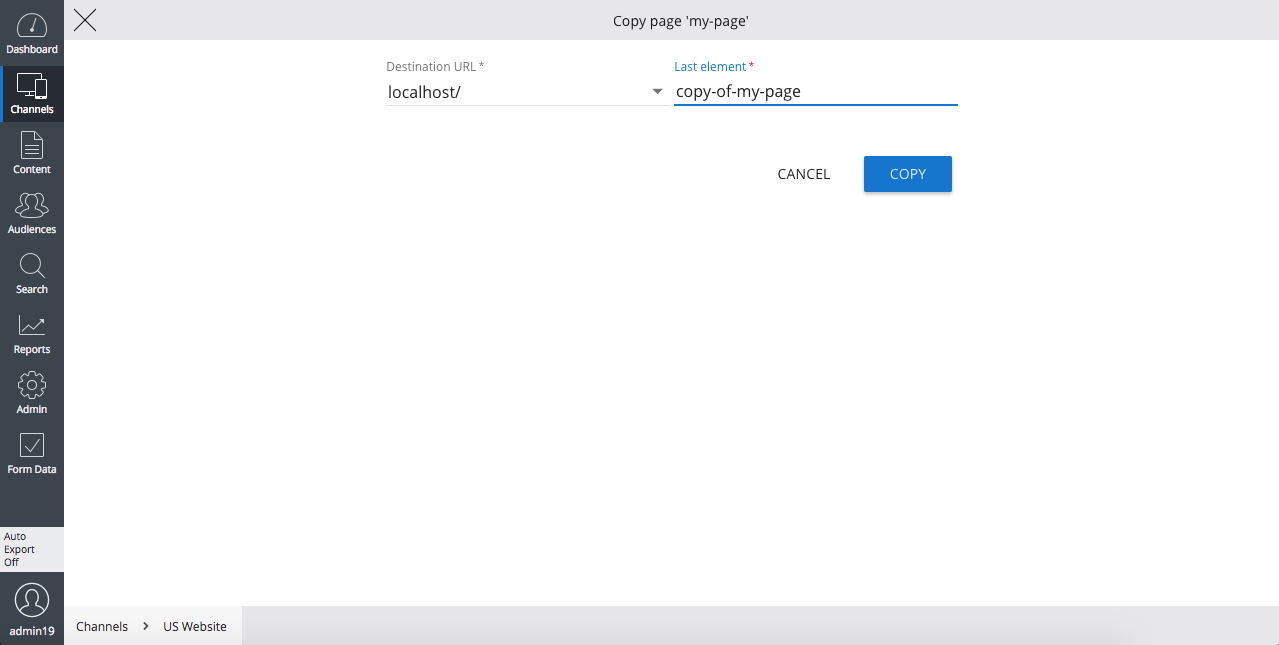
Just like when creating a new page, determine the URL of the copy. If cross-channel copying is enabled, first select the destination channel. Then select the "stem" of the desired URL and specify the Last element. Remember that you cannot use '/' characters in the Last element. When done, click Copy, which brings you back to the Channel Editor, now showing the copy you just made. The copy is only visible in the Channel Editor until you publish your changes to the (destination) channel. The copy can be deleted by discarding your changes, or using the Delete page action.
Moving a page
Any editable page can also be moved. Moving is only supported inside a channel, you cannot move a page into another channel. Select the Move action from the drop-down to get to the Move page form.
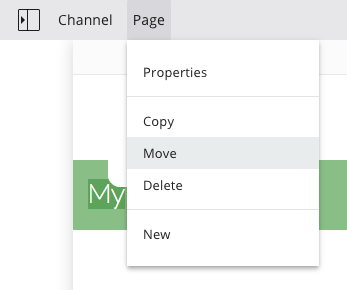
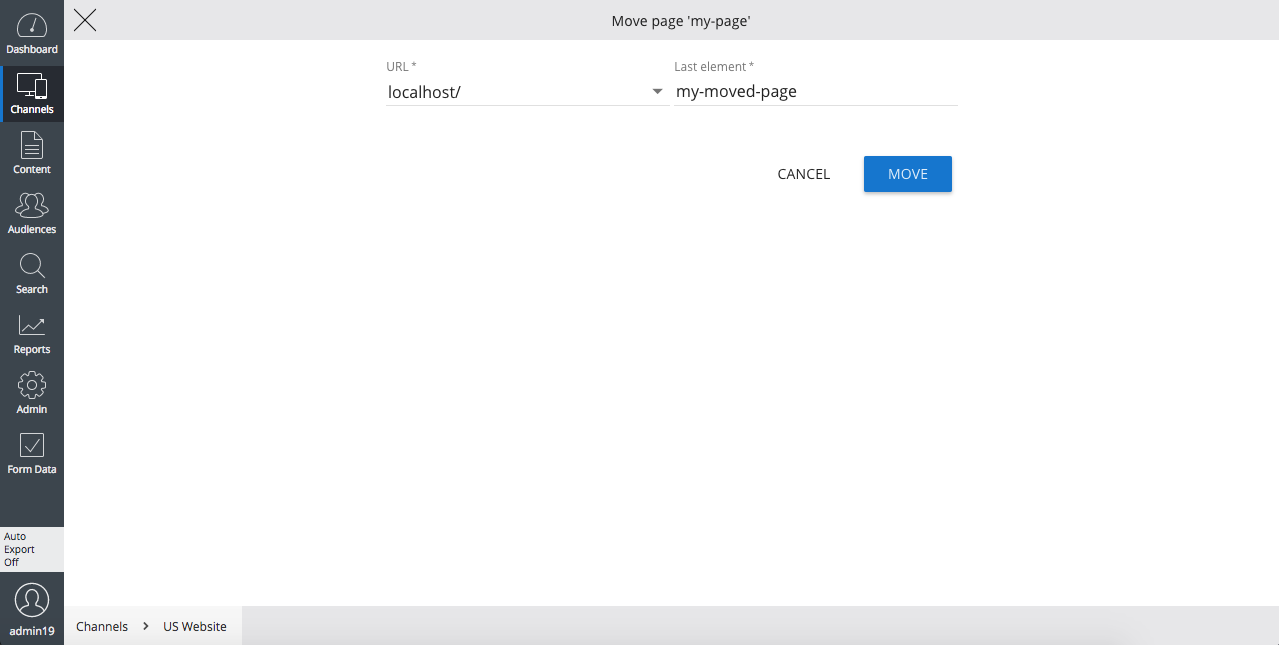
Just like when creating a new page, determine the new URL of the page by selecting the desired "stem" and specifying the Last element. To make the page-move visible in the live channel, publish your changes. To undo the move, discard your changes.
Deleting a page
Any editable page can be deleted. Select the Delete action from the drop-down and confirm your action. Since you deleted the page currently displayed, the Channel Editor automatically navigates to the channel's home page. To delete the page from the live channel, publish your changes. To undo the deletion, discard your changes.

