Configure the News Detail Page
Previous Step
Configure the News Overview Page
After applying the HTML from the web design to the out-of-the-box News Overview, you are going to do the same to the News Detail page.
Take a Look at the Web Design
Load the web site in your browser: http://localhost:8080/site/.
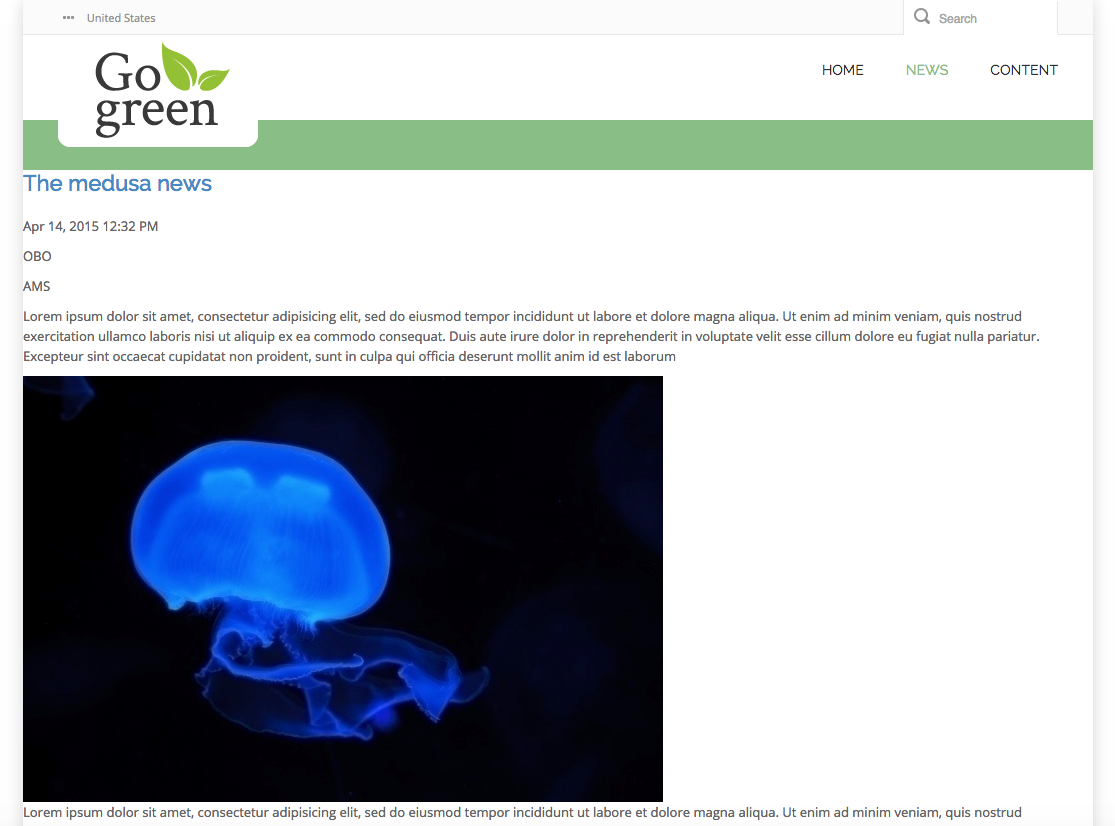
Browse to a news overview page and click on the first news article. Like the news overview before you applied the design, it doesn't look very good yet.

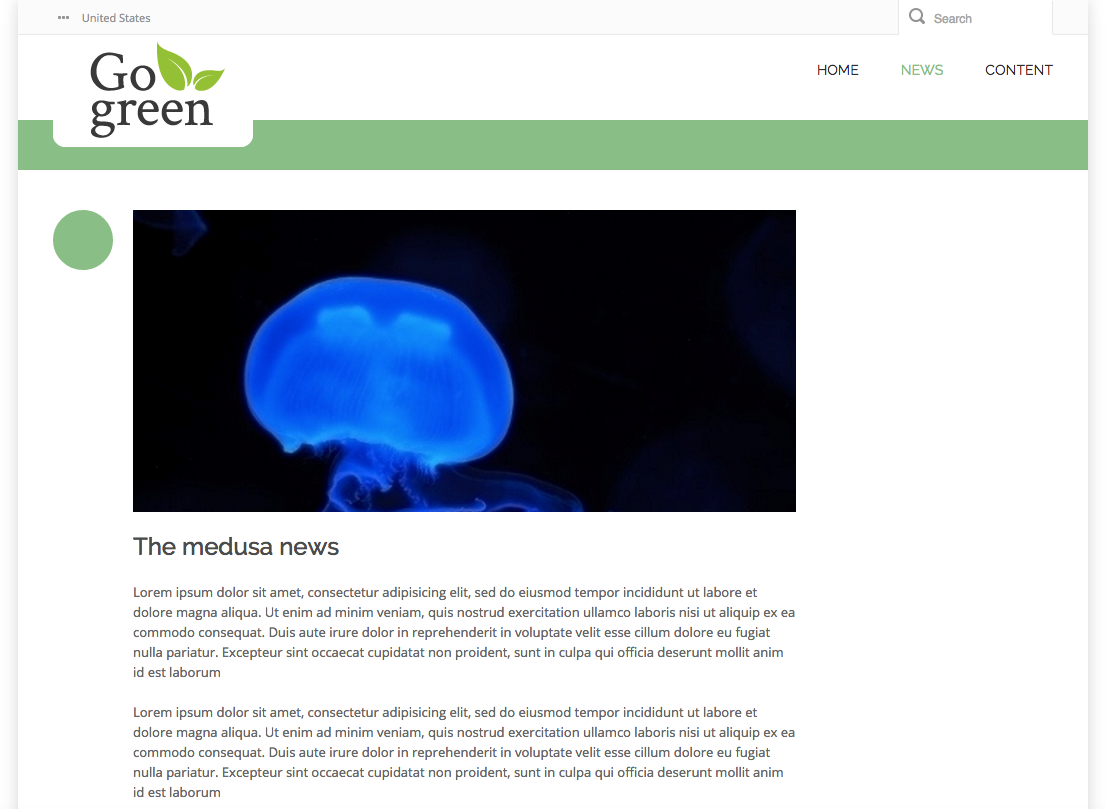
Now load the web design in your browser and browse to the news overview and click on the first news article. This is what the news detail page in your site should look like.

Apply the Web Design to the News Detail Template
Open the file news-detail.html found in the web design. Here you'll find the HTML markup for news articles.
Locate the element <div class="body-wrapper"> in news-detail.html. This element contains the news article.
Open the file repository-data/webfiles/src/main/resoucrs/site/freemarker/hstdefault/newspage-main.ftl found in your project. This is the template that renders the news article.
Apply the HTML markup for the News article found in news-detail.html to the Freemarker code in newspage-main.ftl. For now ignore any markup for the related news links, you will get to that later in this sprint. The 'large' image variant is available through an image's large property, i.e. document.image.large.
Make sure the keep the <@hst.manageContent> tag which renders an edit button in the channel preview.
You will end up with something similar to the following:
<#include "../include/imports.ftl">
<div class="body-wrapper">
  <div class="container">
    <div class="row">
      <#if document??>
        <@hst.link var="link" hippobean=document/>
        <div class="col-md-9 col-sm-9">
          <div class="blog-post has-edit-button">
            <@hst.manageContent hippobean=document/>
            <div class="blog-post-type">
              <i class="icon-news"> </i>
            </div>
            <div class="blog-span">
              <#if document.image?? && document.image.large??>
                <@hst.link var="img" hippobean=document.image.large/>
                <div class="blog-post-featured-img">
                  <img src="${img}" alt="${document.title?html}" />
                </div>
              </#if>
              <h2>${document.title?html}</h2>
              <div class="blog-post-body">
                <p>${document.introduction?html}</p>
                <@hst.html hippohtml=document.content/>
              </div>
              <div class="blog-post-details">
                <div class="blog-post-details-item blog-post-details-item-left icon-calendar">
                  <#if document.date??>
                    <span class="date">
                      <@fmt.formatDate value=document.date.time type="both" dateStyle="medium" timeStyle="short"/>
                    </span>
                  </#if>
                </div>
              </div>
            </div>
          </div>
        </div>
      </#if>
    </div>
  </div>
</div>
Browse to the news overview in the web site again and click on the first news article. It should now conform to the web design.

Next Step
Full Source Code
newspage-main.ftl
<#include "../include/imports.ftl">
<div class="body-wrapper">
  <div class="container">
    <div class="row">
      <#if document??>
        <@hst.link var="link" hippobean=document/>
        <div class="col-md-9 col-sm-9">
          <div class="blog-post has-edit-button">
            <@hst.manageContent hippobean=document/>
            <div class="blog-post-type">
              <i class="icon-news"> </i>
            </div>
            <div class="blog-span">
              <#if document.image?? && document.image.large??>
                <@hst.link var="img" hippobean=document.image.large/>
                <div class="blog-post-featured-img">
                  <img src="${img}" alt="${document.title?html}" />
                </div>
              </#if>
              <h2>${document.title?html}</h2>
              <div class="blog-post-body">
                <p>${document.introduction?html}</p>
                <@hst.html hippohtml=document.content/>
              </div>
              <div class="blog-post-details">
                <div class="blog-post-details-item blog-post-details-item-left icon-calendar">
                  <#if document.date??>
                    <span class="date">
                      <@fmt.formatDate value=document.date.time type="both" dateStyle="medium" timeStyle="short"/>
                    </span>
                  </#if>
                </div>
              </div>
            </div>
          </div>
        </div>
      </#if>
    </div>
  </div>
</div>

