Configure Commerce Connector
Introduction
Starter Store applications depend on commerce connector set configurations, which are maintained in the CMS application and contain all the information necessary to invoke and exchange messages with the services provided by commerce backends.
For more details on the commerce connector set model, see the Commerce Connector Set Model page.
Create a New Commerce Connector Set Document
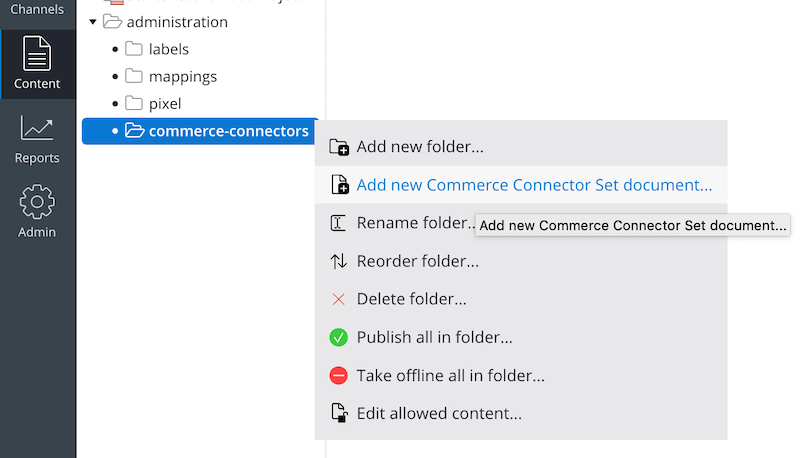
As explained in the Commerce Connector Set Model page, a Starter Store application needs an commerce connector set document in the CMS. If you don't have any Commerce Connector Set document yet, you can add a new Commerce Connector Set document in a folder under the administration folder in the CMS as follows:
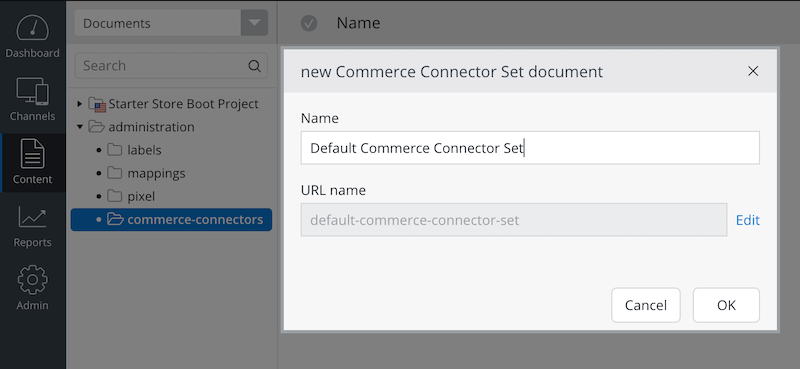
Enter a name for your new Commerce Connector Set document and click OK.
Now, you will be able to edit the Commerce Connector Set document with proper connector and connector component configurations.
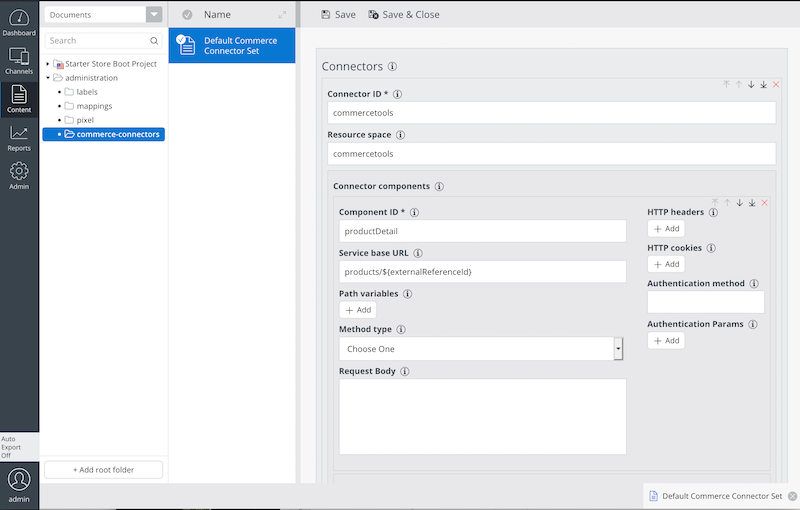
For more details on the commerce connector set model, see the Commerce Connector Set Model page. After editing connector and connector component configurations in the document, don't forget to publish it. Otherwise, the configuration won't be available in delivery applications.
Link Connector Set Document in Channel Setting
The Commerce Connector Set document should be linked from your delivery channel, so the delivery application may use the linked commerce connector set model at runtime.
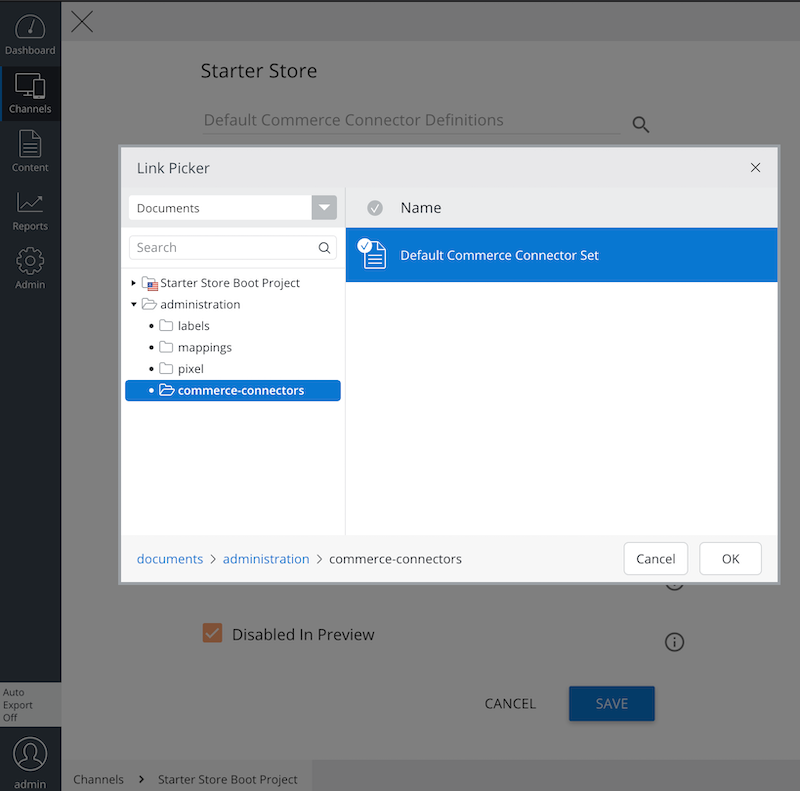
You can link to the document in the channel settings dialog:
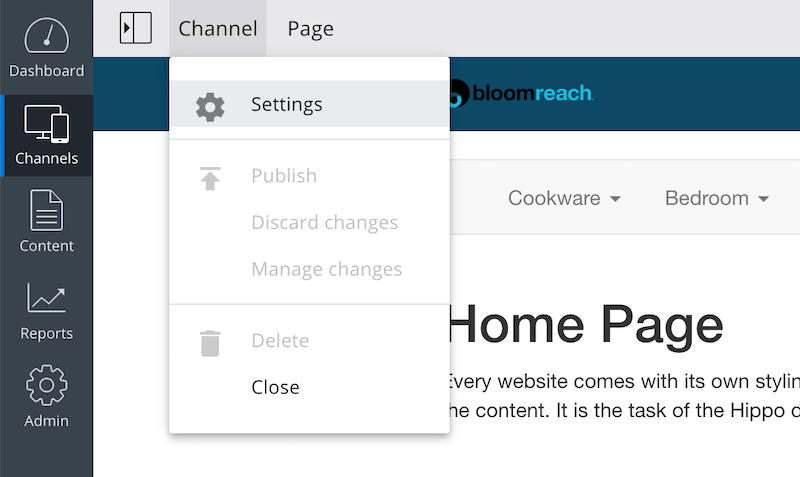
In the Starter Store channel settings dialog, select the Commerce Connector Set document in the first channel settings parameter field.
You can also configure the default commerce connector ID below.
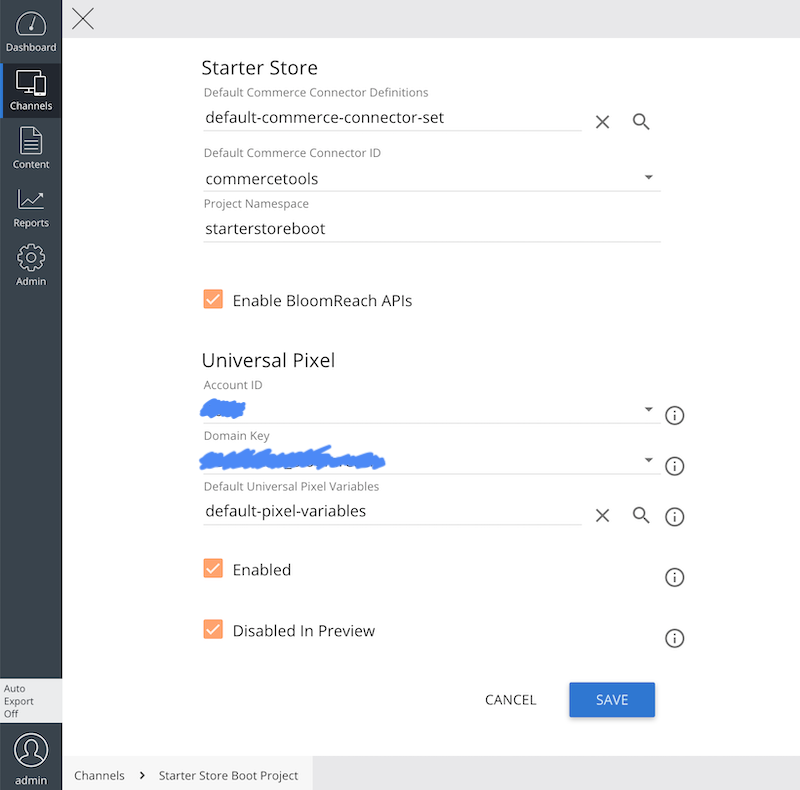
The Starter Store provides seamless integration with the Universal Pixel Integration Addon so you can configure StartetStore and Universal Pixel settings together in the same place. See Configure Universal Pixel Integration Addon page for details.

