Get Started with Bloomreach Experience Manager
This Get Started tutorial helps you to get up and running with your first Bloomreach Experience Manager implementation project.
Before you start, check out the prerequisites.
We recommend you follow the full tutorial and start with Create the Project.
Alternatively, take a shortcut and follow the abbreviated steps below.
Step 1: Create a project using the Bloomreach Experience Manager Maven archetype:
mvn org.apache.maven.plugins:maven-archetype-plugin:2.4:generate \
-DarchetypeRepository=https://maven.onehippo.com/maven2 \
-DarchetypeGroupId=org.onehippo.cms7 \
-DarchetypeArtifactId=hippo-project-archetype \
-DarchetypeVersion=12.6.26
For Windows use:
mvn org.apache.maven.plugins:maven-archetype-plugin:2.4:generate -DarchetypeRepository=https://maven.onehippo.com/maven2 -DarchetypeGroupId=org.onehippo.cms7 -DarchetypeArtifactId=hippo-project-archetype -DarchetypeVersion=12.6.26
The Maven command above uses the latest Bloomreach Experience Manager release available to the open source community.
Bloomreach Experience Manager standard and premium licensees have access to the latest release as listed on the Release Notes Overview page. To use the latest release, make sure to configure the Bloomreach Experience Manager Maven repository and in the above Maven command, replace the the value of the -DarchetypeRepository argument with https://maven.onehippo.com/maven2-enterprise and the value of the -DarchetypeVersion argument with the appropriate version number.
Type ‘n’ at the prompt if you want to customize your project name or other parameters.
cd myhippoproject
mvn clean verify
Step 3: Run Bloomreach Experience Manager:
mvn -Pcargo.run -Drepo.path=storage
This starts a local Tomcat container and deploys the following web applications in it:
|
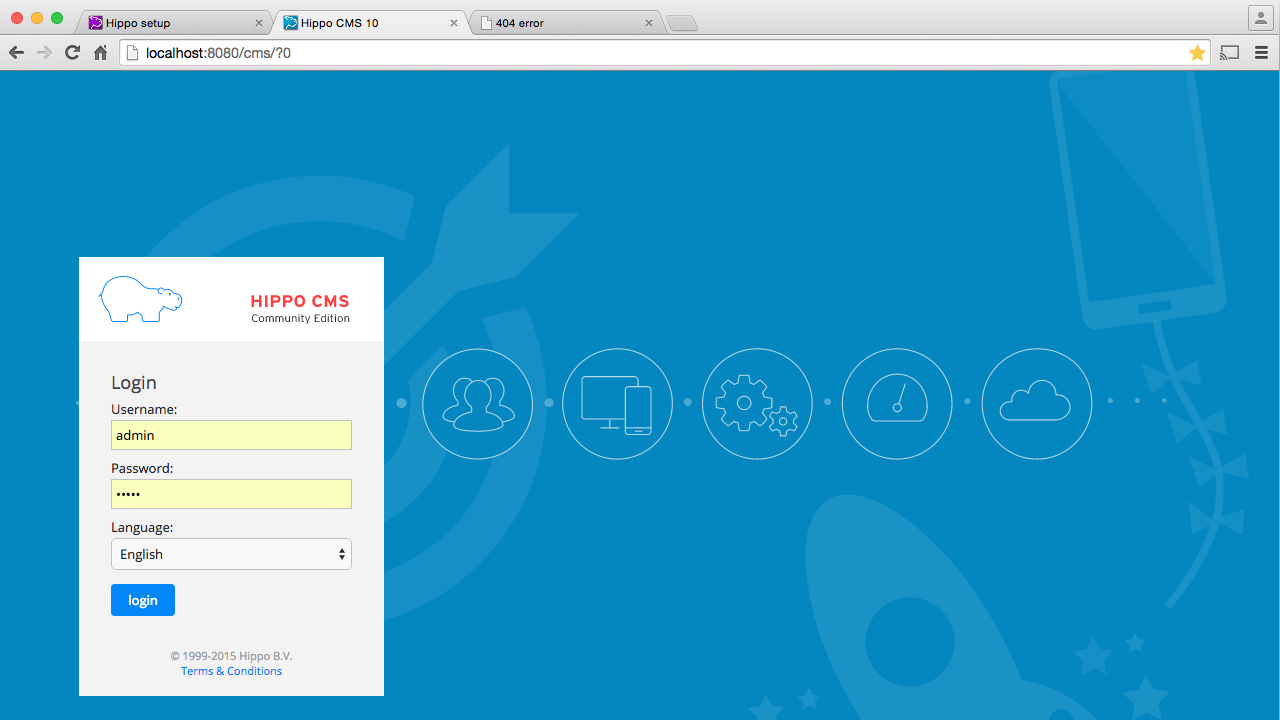
Bloomreach Experience Manager UI at http://localhost:8080/cms Use admin/admin or editor/editor or author/author as username/password combination. These users have admin, editor and author roles respectively. Browse the End User Manual to learn about creating, editing and publishing content as well as user management. |
 |
|
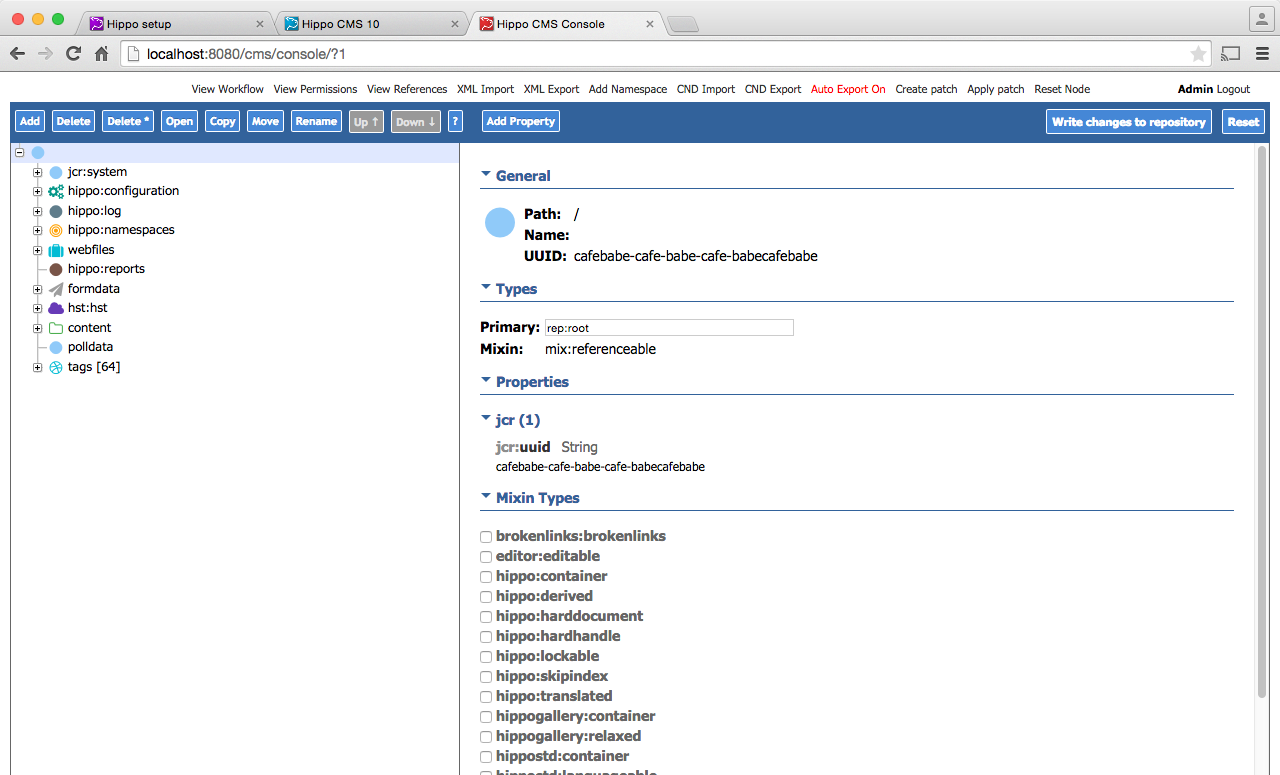
Bloomreach Experience Manager Console at http://localhost:8080/cms/console The Console is a power tool for advanced repository operations for use by developers and administrators. |
 |
|
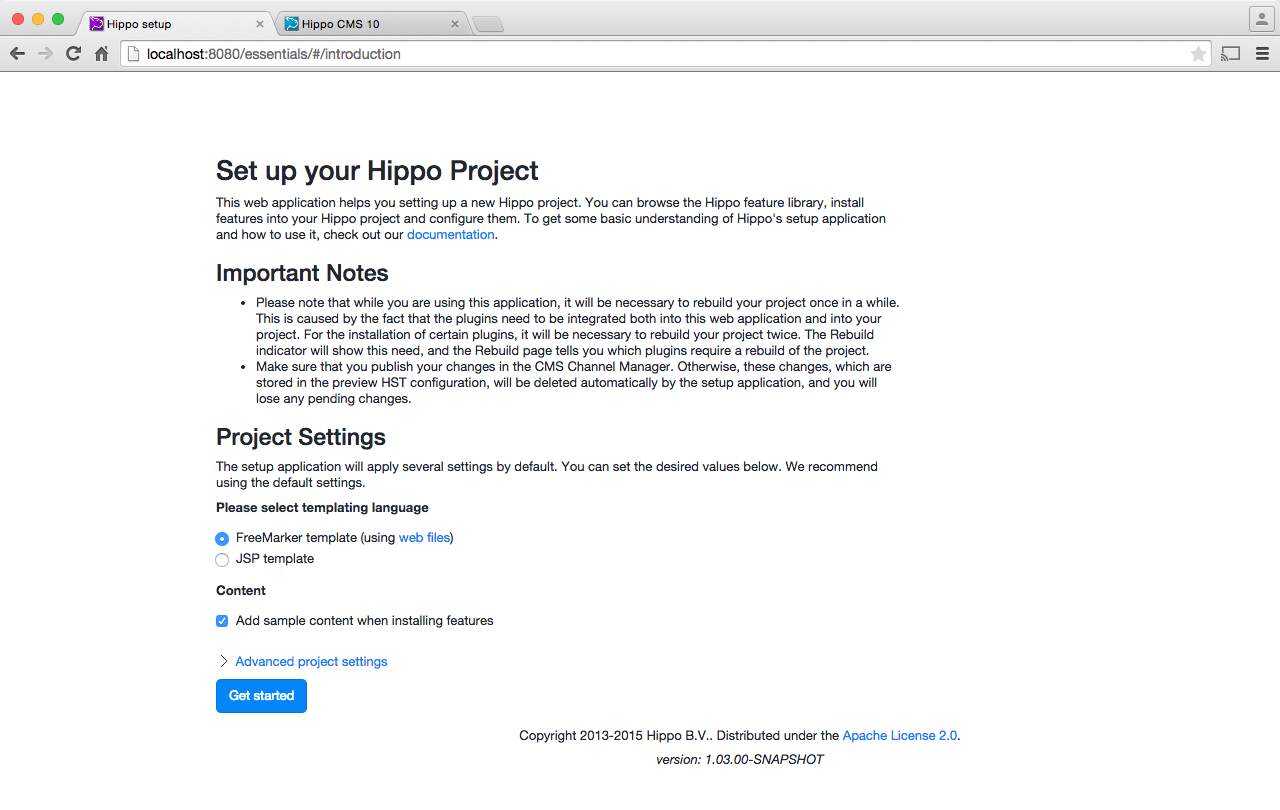
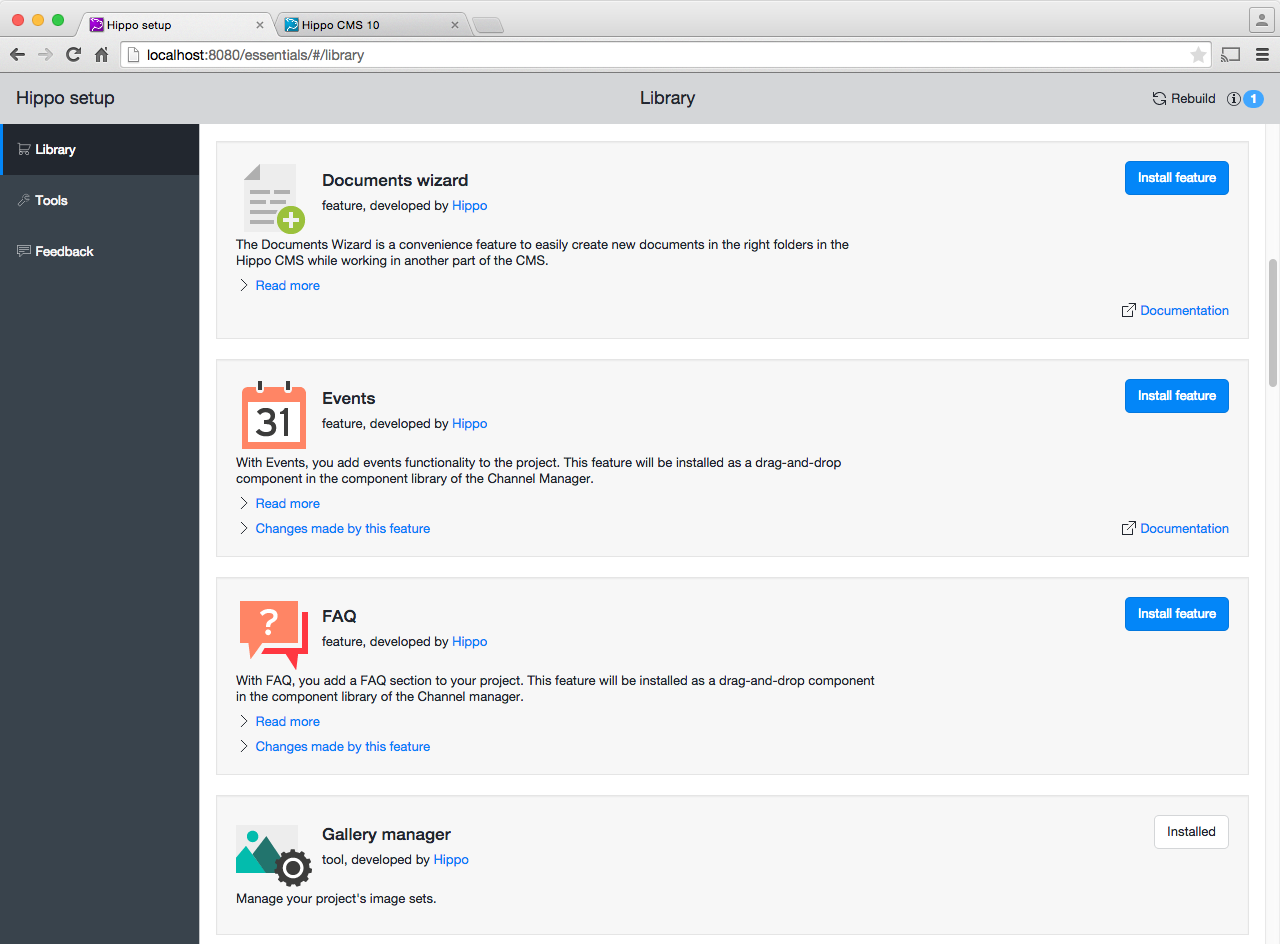
Essentials at http://localhost:8080/essentials The Essentials setup application provides a Feature Library from which features can be added to your project. The first time you use the application it will show a setup screen. Read carefully and if needed, change the default parameters before clicking on Get Started. Choose from a variety of features in the library to customize content, layout, integrations, SEO and much more. Click 'Install Feature' to add it to your project. Once installed they appear in the installed features tab where you can configure them. |
|
|
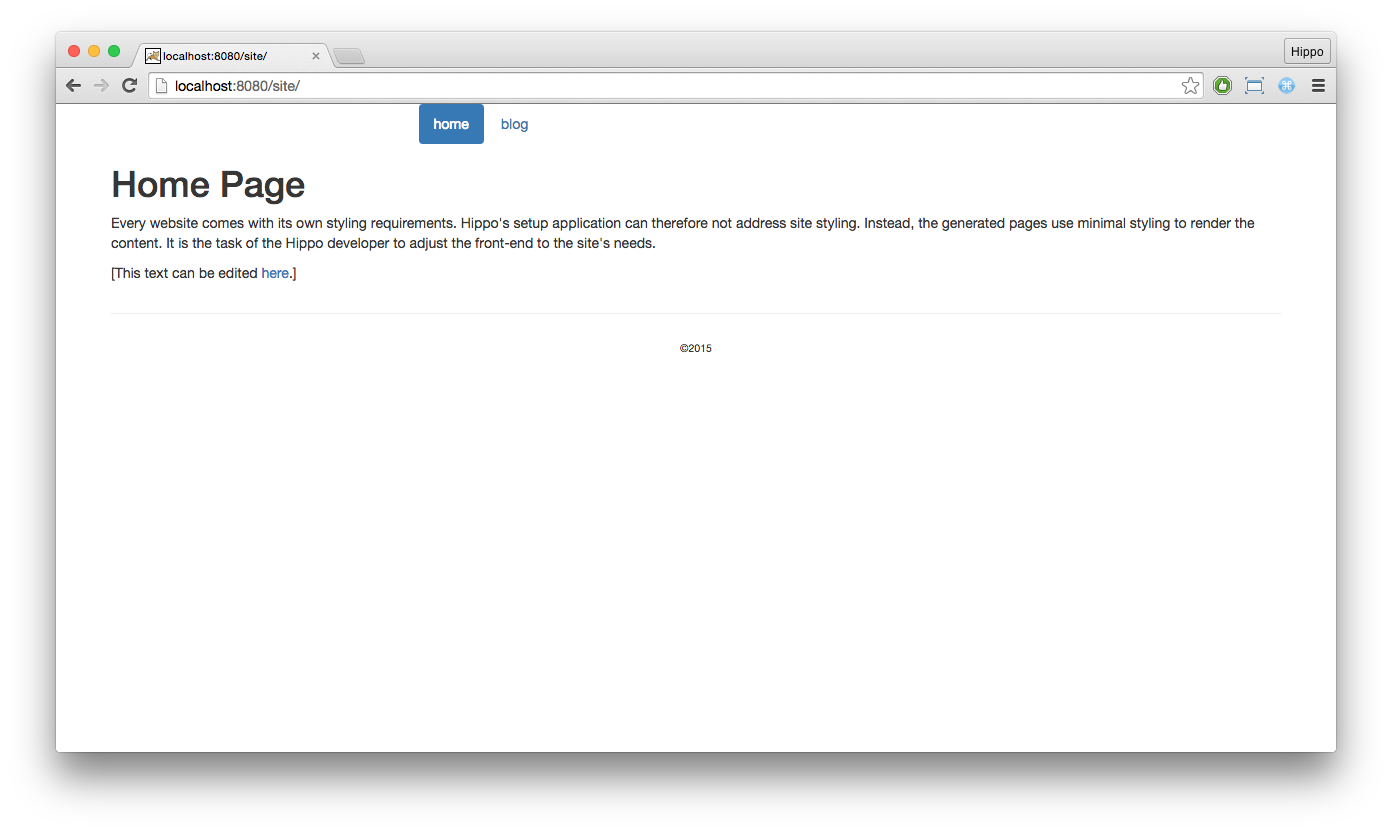
Website at http://localhost:8080/site The website will initially be empty. Once you have added some features from the library to the site it will render them using a default bootstrap theme. |
 |
You can now customize your newly added features or create your own. Check out our tutorial on creating a working website with Bloomreach Experience Manager or take a deeper dive with our Hello world example.
If you get stuck, check out the troubleshooting and documentation pages or reach out to the community through the forum.