Manage Components on a Page
Introduction
Goal
Use the Channel Editor to add, configure, and/or remove components on a page in a channel.
Background
The Channel Editor enables users with "webmaster" privileges to manage components on certain pages in a WYSIWYG manner. To be able to manage components on a page, that page must have one or more "component containers" defined to which components can be added. Which pages have component containers, which components are available, and to what extent components can be configured typically depends on the design of the implementation project.
Instructions
In the Channels perspective, select the channel you want to edit. Browse to the page on which you want to add, configure, and/or remove a component.
Add a Component to a Page
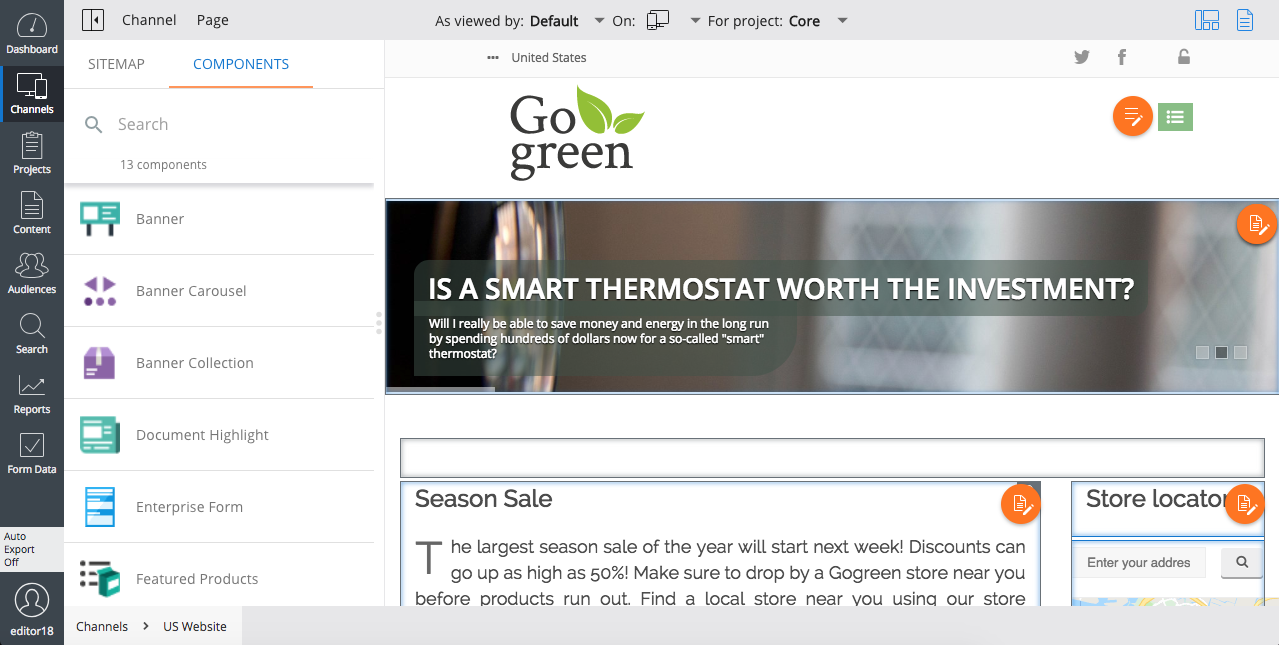
Open the sidebar and select the components tab:
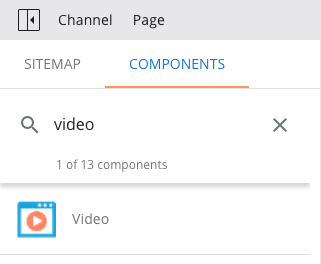
Optionally, enter a search term to find the component you are looking for:
Click on the component you want to add to the page:
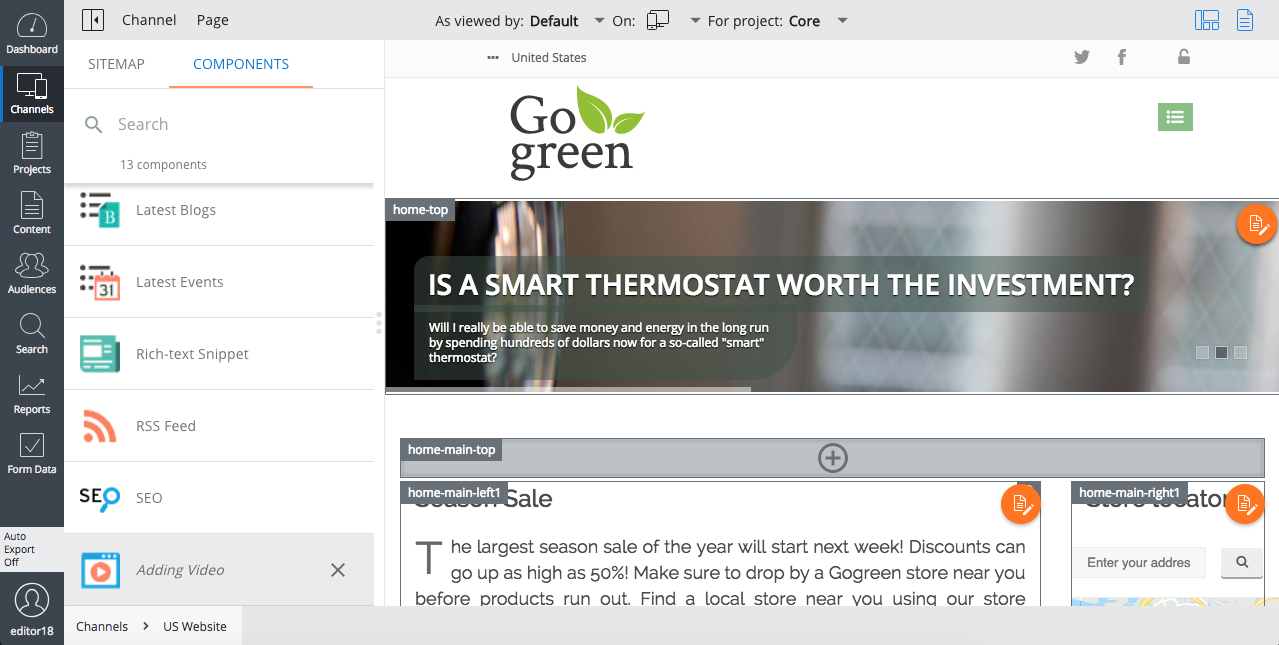
To add the component to the page, click inside the container to which you want to add the component.
Configure a Component
Make sure that the components overlay is enabled (components icon highlighted):
![]()
Click on the component you want to configure to open its configuration dialog:
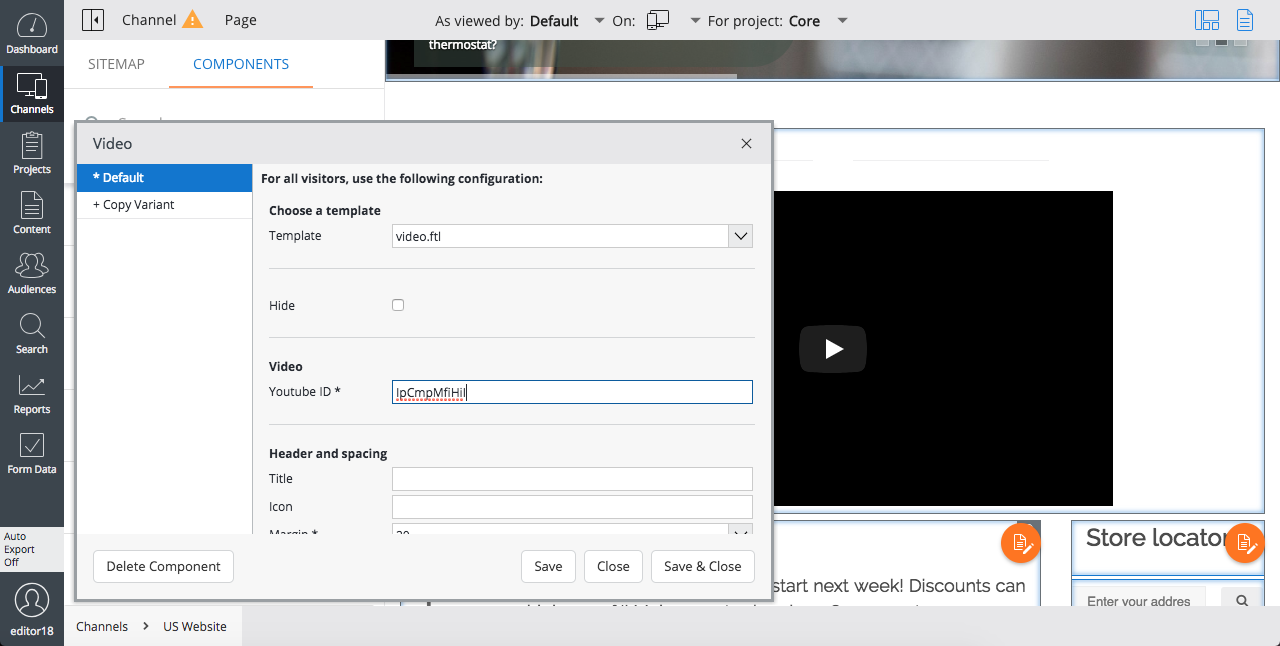
Depending on the type of component, the dialog will show different configuration options. Typically, you can configure which content should be rendered by the component and a number of parameters that change the component's visual appearance.
Change any configuration option as needed. Changes are reflected in the channel preview in real-time.
Once you are finished configuring the component, click on Save & Close.
Remove a Component from a Page
Make sure that the components overlay is enabled (components icon highlighted):
![]()
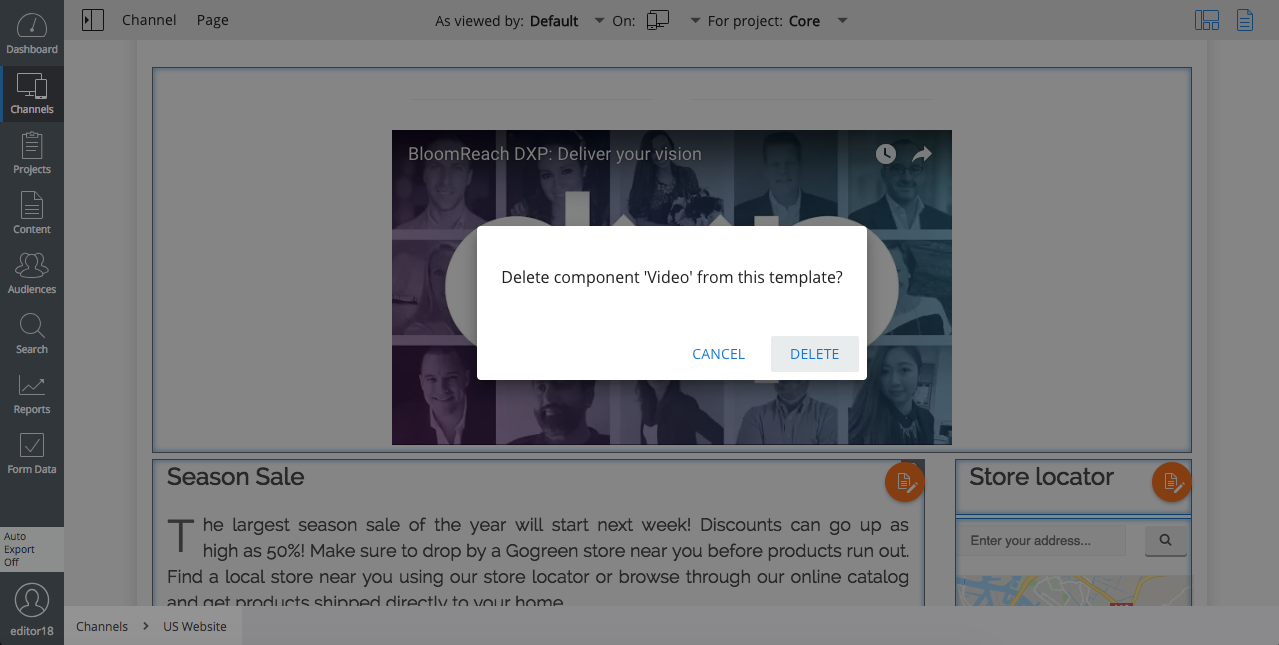
Click on the component you want to remove from the page to open its configuration dialog (see above). Click on Delete Component. In the confirmation dialog that pops up, select Delete:
Publish Changes
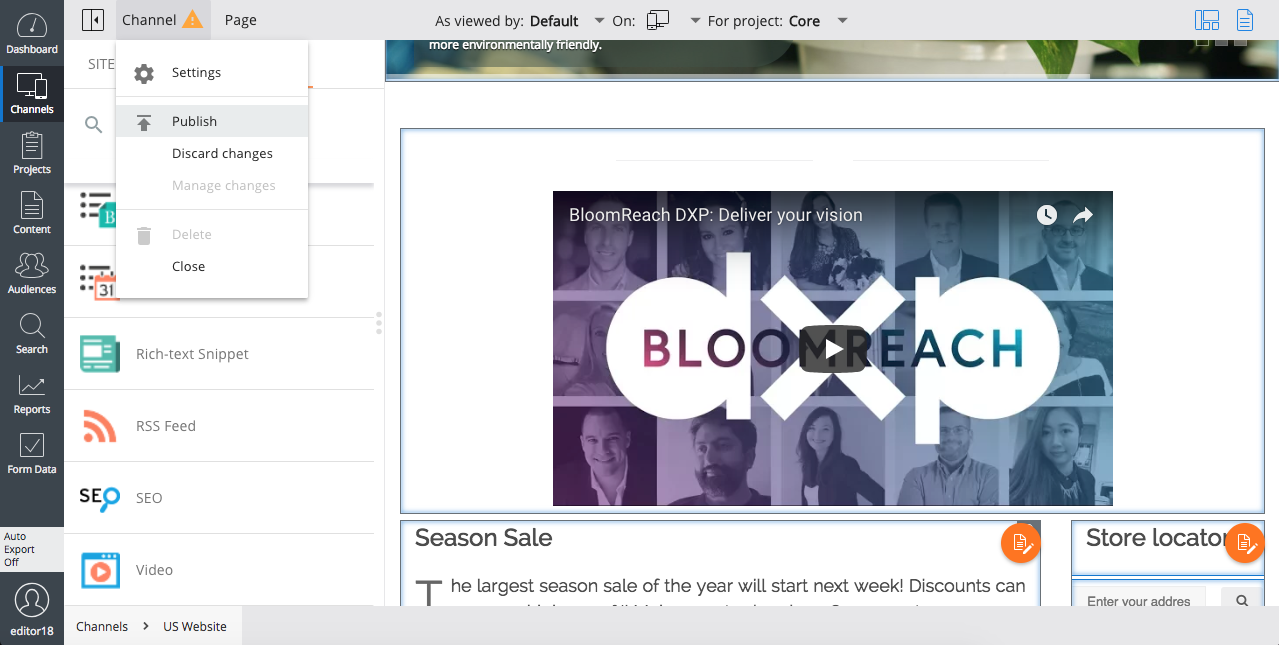
Open the Channel menu and select Publish:
