Channel Manager
Introduction
The channel manager allows webmasters to manage multiple channels inside the CMS. A channel can be any HST site, like a website, mobile site, REST API, etc. Each channel is tied to one mount inside an HST host group. A mount references the channel it belongs to. Mounts without a channel are not shown in the channel manager.

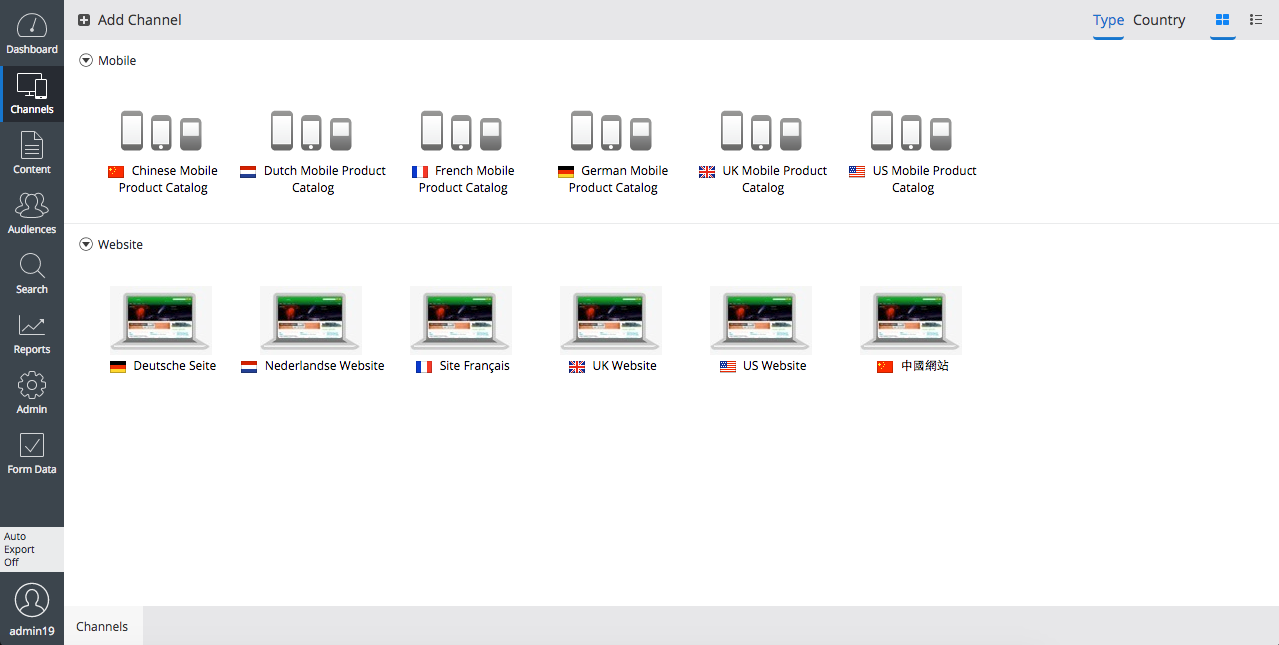
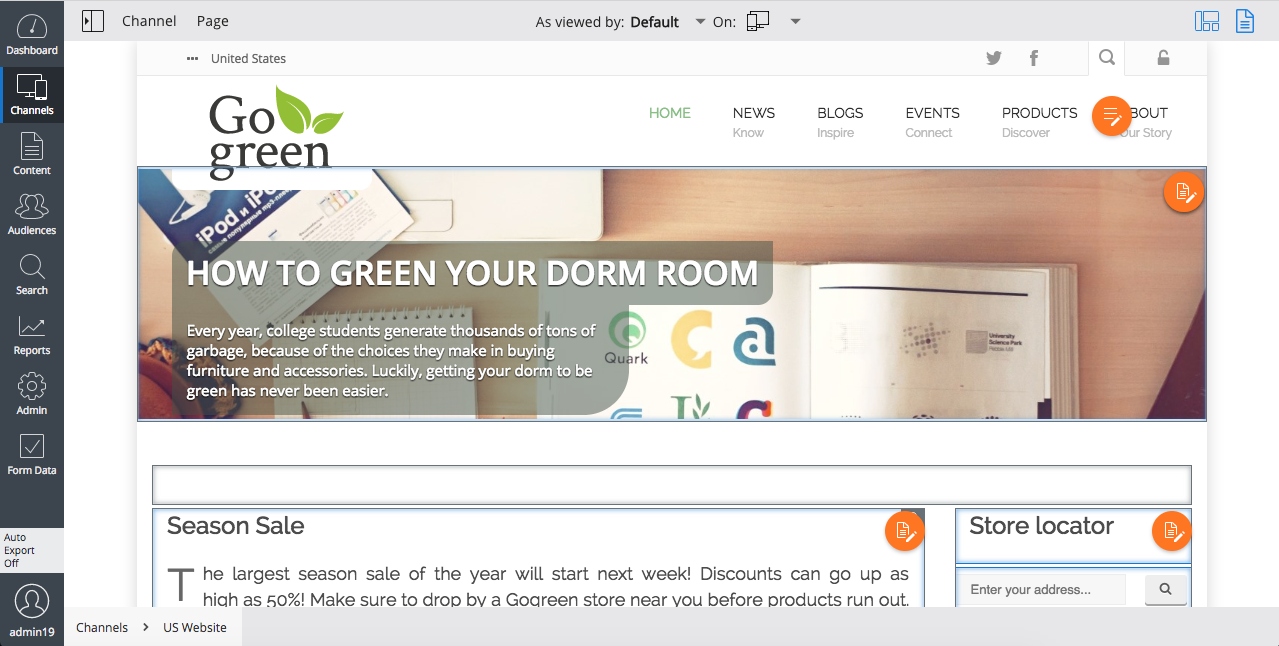
The CMS shows an overview of all available channels. Each channel can be previewed inside the CMS, meaning that here authors and webmasters can see what a channel will look like before publishing document or channel changes.
When the hst:manageContent tag is used in page templates, the preview shows a button next to each rendered document that opens the visual editor for that document. Similarly, when the hst:cmseditmenu tag is used for a menu, a button will be shown that allows the webmaster to edit the menu. The Channel Editor can be used inside the same preview, allowing a webmaster to add components to containers inside the page.

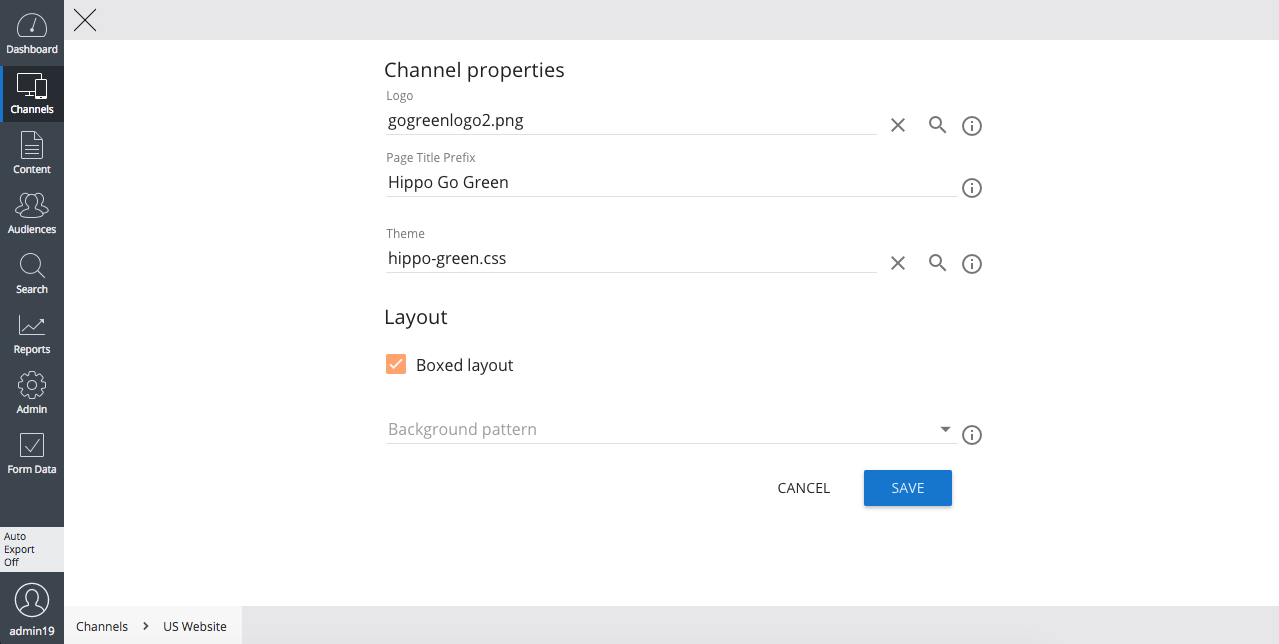
Channels can have channel wide settings. Developers can define these channel's configuration parameters in a Java interface. These Settings can be configured to be editable or read-only in the Channel Manager, see Workspace Configuration. HST components can access these properties via Java interfaces.

Besides managing existing sites, the channel manager can also create new sites from blueprints defined by developers. A webmaster only needs to click 'Add channel', select the blueprint to use, and provide a name and URL for the new channel.
Define available channels
To show an HST mount as a channel in the channel manager, you must create an hst:channel node for it that contains the name of the channel and (optionally) the channel properties and the interface name to access them.
For example, we have a channel called 'example' with the URL ' http://www.example.com'. The HST host configuration would contain the mount
/hst:hst/hst:hosts/dev-localhost/com/example/www/hst:root
To show this channel in the channel manager, make sure the hst:channel node exists in the configuration:
/hst:hst:
  /hst:configurations:
    /example:
      /hst:channel:
        jcr:primaryType: hst:channel
        hst:name: Example
The channel manager overview will now show the channel with the name ‘Example’ with the URL ‘ http://www.example.com'. If the channel settings need to be editable, configure the channel in the workspace as below, also see Workspace Configuration.
/hst:hst:
  /hst:configurations:
    /example:
      /hst:workspace:
        /hst:channel:
          jcr:primaryType: hst:channel
          hst:name: Example
Channel manager host group
HST allows multiple host groups (e.g. to distinguish between different deployment environments like test, staging or production). By setting up the hosts configuration correctly the channel manager will use the hosts group for the environment the CMS runs on.
Authorization
By default, all users have read-only access to the channel manager. They can see the channel overview and preview an existing channel. All users in the group 'webmaster' can also create new channels and edit existing ones. Admin users can always do everything.
For example, the following YAML source definition adds the user 'editor' to the group 'webmaster':
definitions:
  config:
    /hippo:configuration/hippo:groups/webmaster:
      hipposys:members:
        operation: add
        type: string
        value: [editor]
Filtering channels
If you want channel filtering different from the default enabled filtering based on whether the cms user can read the content of the channel, you can plug in your own filters. See Channel Filtering how to achieve this.
FAQ
How do I get the 'Add Channel' button?
The 'Add Channel' button will only be shown if:
-
There is at least one blueprint defined
-
The user is allowed to create new channel (see the previous section on authorization)
How do I remove the '_cmsinternal' suffix from the preview URLs in the CMS?
When you preview a channel by clicking 'preview' in the channel manager, the URL will by default end with '_cmsinternal'. The page ' Getting rid of the _cmsinternal in the site preview links from the channel manager' explains when and how this part can be removed.
How do I remove a channel
It is possible to remove a channel from the channel manager using the CMS console. In CMS UI it is only possible to remove a channel if the channel is configured to be deletable, see Enable Administrators to Delete a Channel. To remove a channel from the channel manager, perform the following steps:
- Log in to the console
- If you only want to remove the channel from the Channel Manager UI in the cms (but for the rest keep the channel), you can remove the hst:channel node below the hst:configuration for the channel.
- If you also want to delete the underlying site, perform the following additional steps:
- Delete the configuration of the channel: navigate to /hst:hst/hst:configurations and delete the node corresponding to your channel (also the -preview)
- Delete the links to the content of the channel: navigate to /hst:hst/hst:sites and delete the node corresponding to your channel.
- Don't forget to check your hosts config under /hst:hst/hst:hosts, a host configuration pointing to a non-existing channel can also be deleted.
- Click Write changes to repository to persist your changes.
Removing the channel manager
The channel manager can be removed entirely from your project by removing the following artifacts from the pom.xml in the cms module:
<dependency>
  <groupId>org.onehippo.cms7</groupId>
  <artifactId>hippo-addon-channel-manager-frontend</artifactId>
</dependency>

<dependency>
  <groupId>org.onehippo.cms7</groupId>
  <artifactId>hippo-addon-channel-manager-repository</artifactId>
</dependency>

