Make Changes to Channels and Content in a Project
This page describes how to make changes to a channel and/or content within a project.
Before you make any changes, create a project first. Make sure to add channels to the project (if you want channel changes included in the project) and to add documents to the project (if you want content changes included in the project).
To make changes to a channel as part of a project, open the channel manager in the context of the relevant channel and project by clicking on the channel within the Channels tab (within the Projects perspective and for the relevant project):

Doing this will open the channel manager and relevant channel in the context of the relevant project:

You can also navigate to the relevant channel in the channel manager and use the dropdown at the top to select a project context (no need to go to the Projects perspective first).
You can now start making channel changes contained within the selected project directly from the channel manager.
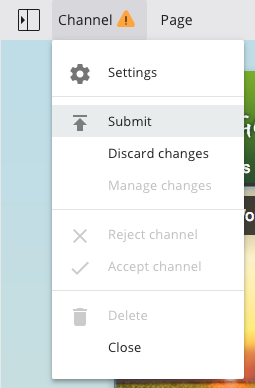
Once you are finished making changes to the channel(s) in your project, submit your changes using the menu option at the top-left of the channel manager:

To make changes to content within a project, edit content (be sure to save your edited content) within the context of that project. You can edit content directly from the channel manager, using the visual editing panel, or you can edit it from the Content perspective.
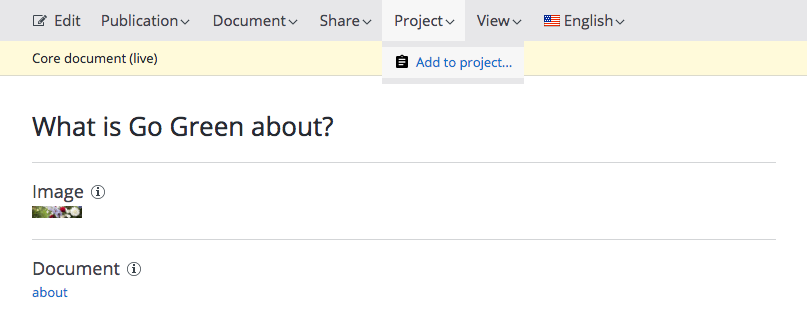
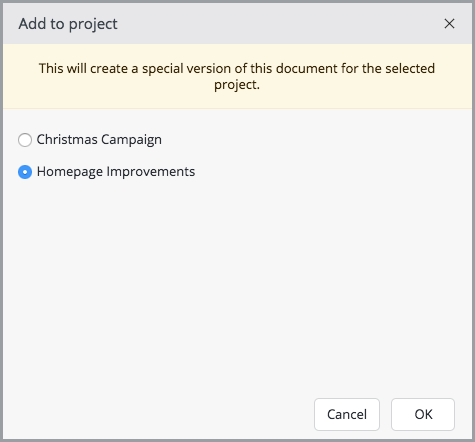
Within the Content perspective, make sure to add the document to the project:


If the document already contains unpublished changes, they will be carried over to the project.
To make changes to a document that is already part of the project, make sure that the project version of the document is currently selected:

Once you have made the desired channel and content changes within your project, you are ready to request a review of the project.

