Deploy the Updated Project in the Green Environment
In this step you will use Mission Control to create the green environment, use it to deploy and test the new release of your project, and switch production traffic routing from the blue to the green environment.
Upload the Distribution
Log into Mission Control.
Browse the Distributions tab on the Files screen.
To upload the distribution file you created in the previous step, click on the + icon in the bottom right corner, browse to the location of the file on your computer and select it.
Depending on the speed of your network connection the upload can take a while (the distribution file is over 100 MB).
Create the Green Environment
In Mission Control, browse to the environments overview.
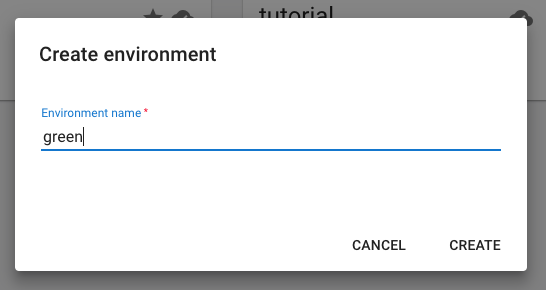
Click on the red + icon in the bottom right corner to create a new environment.
Enter the name "green" and click on the Save button.
Announce a Content Freeze
Before making a backup of the blue environment's CMS data, it is important to announce a content freeze to all CMS users. This means that no content changes should be made from the moment the backup is created to the moment production traffic is routed to the green environment.
It is also important to realize that any write operations made by the website during the content freeze will be lost unless manually recovered. This includes visitor data collected by the Relevance Module. If you expect any essential data to be written during the content freeze, make a recovery plan.
Copy the Blue Environment's CMS Data to the Green Environment
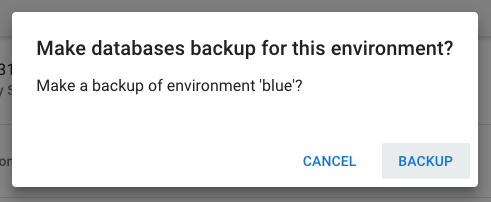
Select the blue environment and open the Backups tab.
Click on the + icon in the bottom right corner to create a new backup of the blue environment.
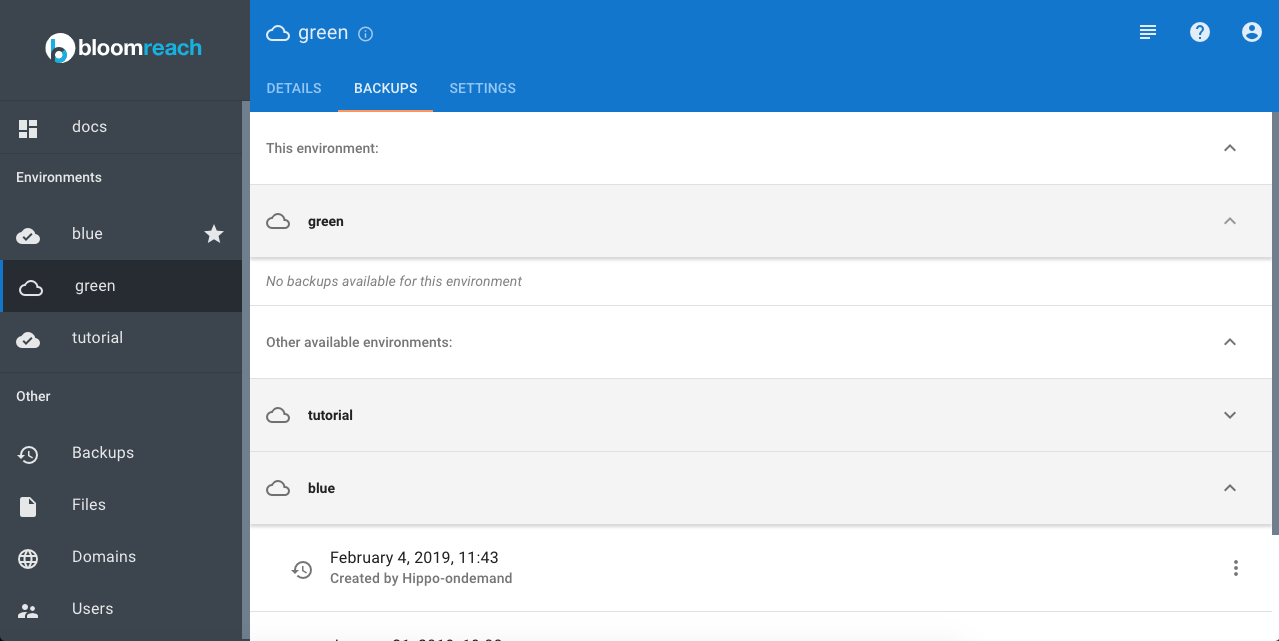
Select the green environment, open the Backups tab, and click on Other available environments.
The available backups are grouped by the environment in which they were created. Click on 'blue' to show the backup for that environment.
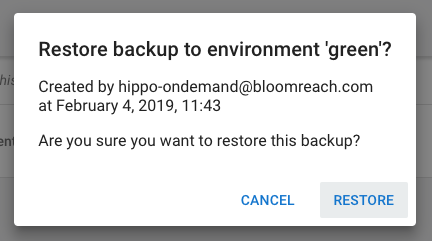
Identify the backup of the blue environment you just made and click on it to restore the backup in the green environment.
In the dialog that pops up click on Restore.
This will take a few minutes.
The green environment now contains an exact copy of the blue environment's CMS data.
Deploy the Distribution in the Green Environment
Select the green environment and open the Deployment tab.
Identify the distribution file myproject-1.0.1-distribution.tar.gz and click on it to deploy it.
This will take a few minutes.
Configure the Application for the Green Environment
On the Details tab of the green environment, click on the Console button. This will open the Console application is a new browser tab.
Log in as admin and browse to the node /hst:myproject/hst:hosts.
Add an hst:virtualhostgroup node called green and create the following virtual host structure, replacing green-mycloud.bloomreach.cloud with the domain name for the green environment (shown in the URL bar of your browser):
/hst:myproject/hst:hosts:
  /green:
    jcr:primaryType: hst:virtualhostgroup
    /cloud:
      jcr:primaryType: hst:virtualhost
      /bloomreach:
        jcr:primaryType: hst:virtualhost
        /green-dev-doc:
          jcr:primaryType: hst:virtualhost
          /hst:root:
            jcr:primaryType: hst:mount
            hst:mountpoint: /hst:myproject/hst:sites/myhippoproject
            hst:scheme: https
            hst:showcontextpath: true
            hst:showport: false
Browse to the node /hst:platform/hst:hosts.
Add an hst:virtualhostgroup node called green and create the following virtual host structure, replacing green-mycloud.bloomreach.cloud with the domain name for the green environment:
/hst:platform/hst:hosts:
  /green:
    jcr:primaryType: hst:virtualhostgroup
    /cloud:
      jcr:primaryType: hst:virtualhost
      hst:scheme: https
      hst:showcontextpath: true
      hst:showport: false
      /bloomreach:
        jcr:primaryType: hst:virtualhost
        /green-mycloud:
          jcr:primaryType: hst:virtualhost
          /hst:root:
            jcr:primaryType: hst:mount
            hst:ismapped: false
            hst:namedpipeline: WebApplicationInvokingPipeline
You can copy the 'blue' virtual host group and replace 'blue' with 'green' in node names and property values where needed.
Click on Write changes to the repository.
Verify the Release in the Green Environment
Verify that the release is working correctly.
If everything is working as expected you are ready to switch production traffic routing from the blue to the green environment.
Route Production Traffic to the Green Environment
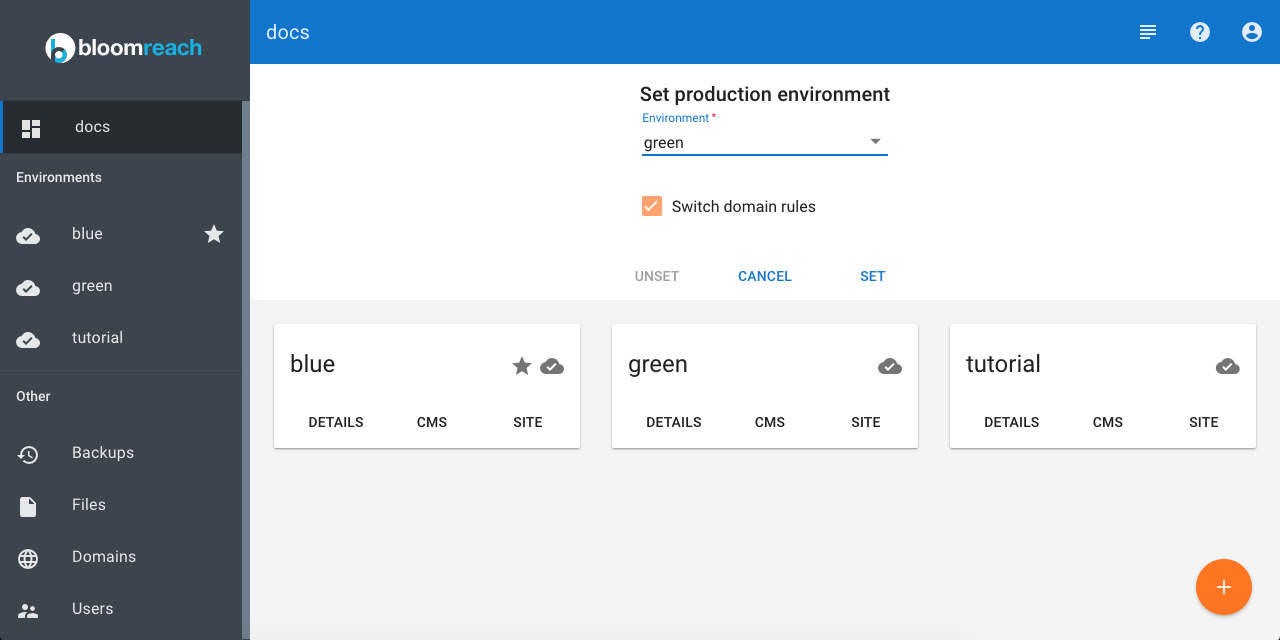
In Mission Control, navigate to the environments overview and click on Set Production Environment.
Select the green environment in the Set production environment dropdown, check the Switch domain rules checkbox, and click on Set:
Open the website on the production URL (www.yourcompany.com) and verify that everything is working as expected.
You can now announce the end of the content freeze.