Set Acceptance Environment
Introduction
Goal
Run performance tests on a Bloomreach Cloud environment.
Background
Conducting performance testing on a regular Bloomreach Cloud setup will not accurately reflect the performance of a production environment. A production environment gets more resources (e.g. running replicas) than ordinary environments. At the same time, running performance tests on a live production environment is not desirable.
Marking a Bloomreach Cloud environment as Acceptance will provide the environment with the same amount of resources as a production environment, and also lifts some restrictions that are specific to environments marked as Production:
- acceptance environment can be deployed by a user with the developer role
- acceptance environment can be deleted
Note
Acceptance environment is an optional feature, that has to be purchased separately.
Instructions
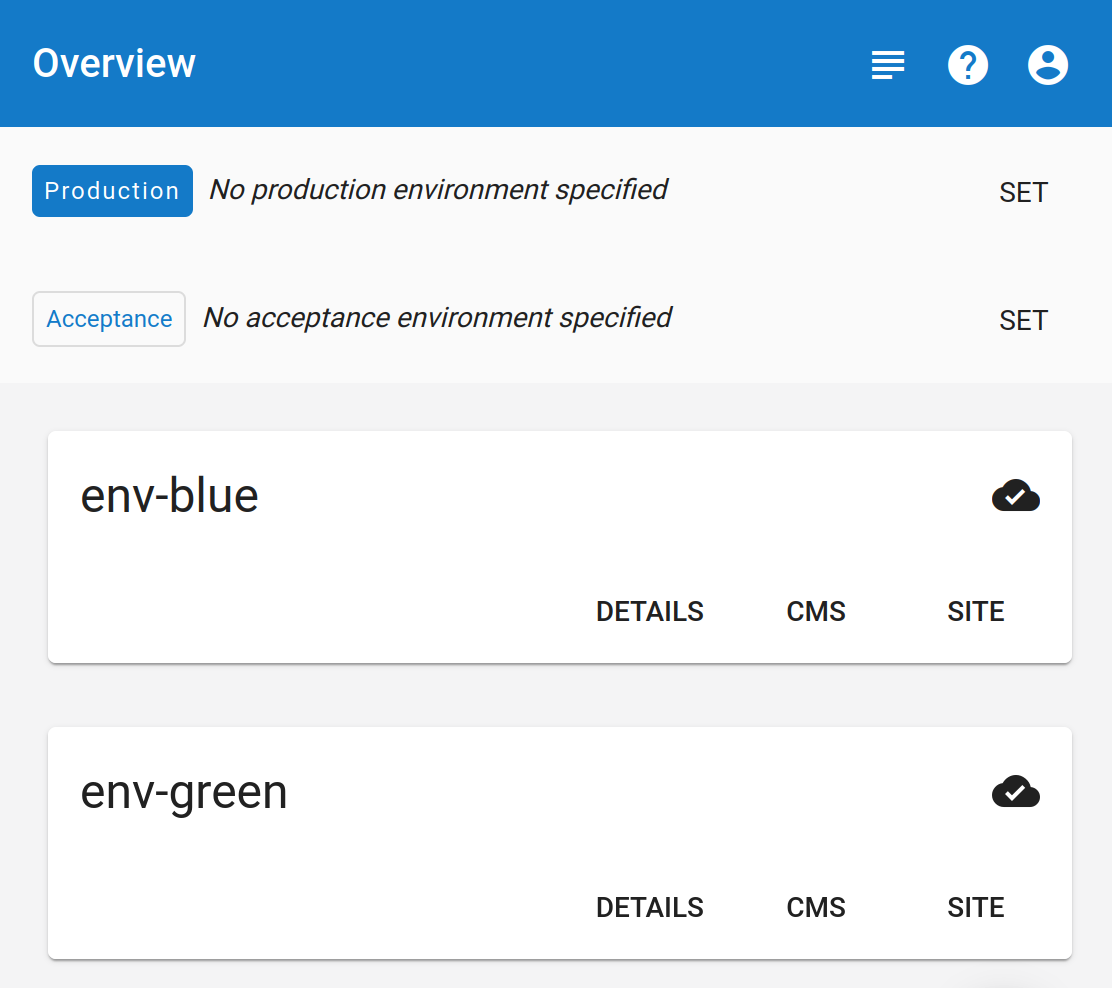
Log into Mission Control and navigate to the environments overview.
At the top there is a switch for Acceptance environment:
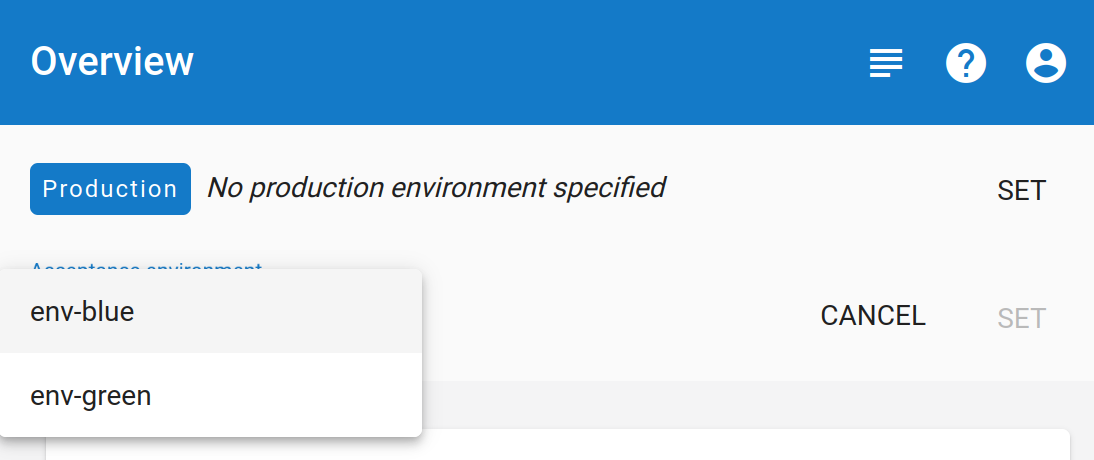
Press the SET button on the right, and in the drop-down menu select the Acceptance environment:
Note
Only one environment can be marked as Acceptance at a time. Marking another environment as Acceptance will unmark the existing Acceptance environment, if there is one. Only environments that are successfully deployed and running can be marked as Acceptance. An environment can either be marked as Acceptance or as Production, but not both at the same time.
API
The description of the API call is available at: https://api.<stack-name>.bloomreach.cloud/v3/docs#environments-put-1