Integration Testing with New B2C Commerce Connector
Introduction
Once you validated everything with your CommerceRepository implementations and their unit tests based on the Commerce Connector SDK APIs, you will need to test the module with Bloomreach Commerce Accelerator Application. By adding the module dependency and configuring your module in the Bloomreach B2C Commerce Accelerator project, you can perform an integration test.
Add Commerce Connector Module Dependency
First, add the dependency of your Commerce Connector Module to cms-dependencies/pom.xml of the Bloomreach B2C Commerce Accelerator project like the following (using the B2C Demo Commerce Connector Module in this case):
    <dependency>
      <groupId>com.bloomreach.commercedxp.demo.connectors</groupId>
      <artifactId>mydemoconnector-b2c</artifactId>
      <version>14.1.0</version>
    </dependency>
Build and Start
Build the Bloomreach B2C Commerce Accelerator project:
$ mvn clean verify -Ddependency-check.skip=true
Run the Bloomreach B2C Commerce Accelerator project:
$ mvn -P cargo.run
Now you can move on to registering your B2C Commerce Connector Module through a configuration document.
Register Connector
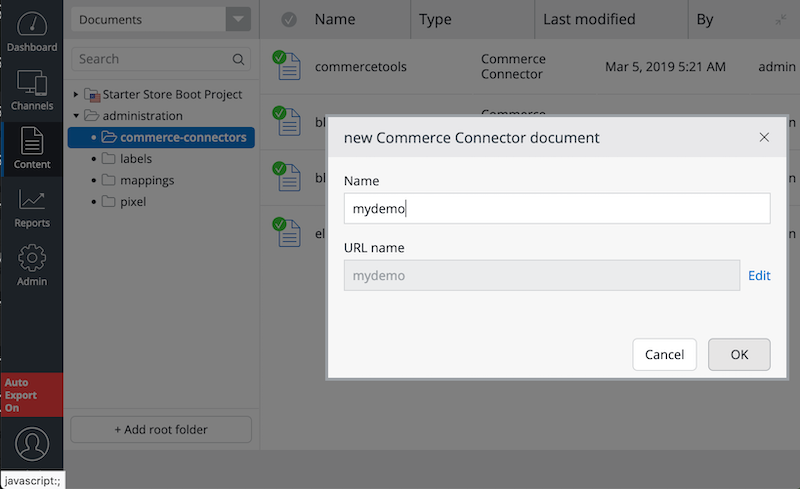
A new B2C Commerce Connector Module must be registered through a Commerce Connector document in CMS. Navigate to the adminitration/commerce-connectors folder and create a new Commerce Connector document with the name. e.g, "mydemo" for the B2C Demo Commerce Connector Module.
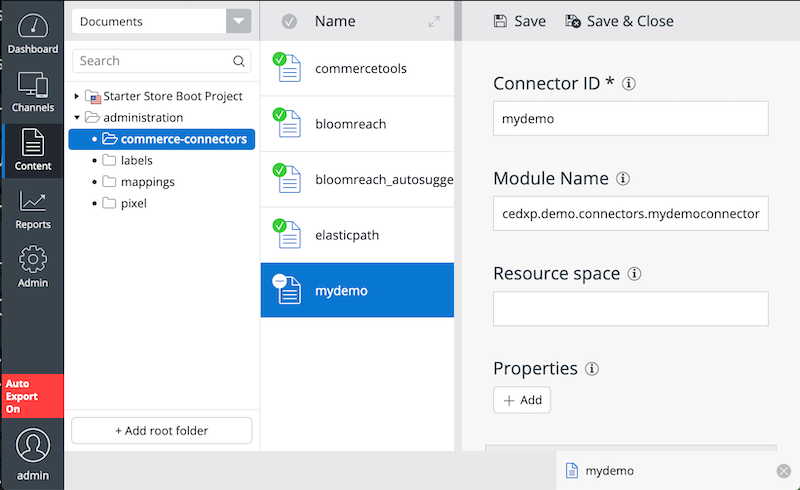
As shown in the screenshot below, enter "mydemo" again for the Connector ID field, which will be used as a unique identifier of the Commerce Connector in the system.
In the Module Name field, enter the the module name that you specified in the module descriptor at META-INF/hst-assembly/addon/module.xml; com.bloomreach.commercedxp.demo.connectors.mydemoconnector in the B2C Demo Commerce Connector Module project.
You may keep the Resource space field empty for now as we don't use CRISP API in this example (yet). When you need to use CRISP API in your Commerce Connector Module, you should enter the specific CRISP resource space name in the field.
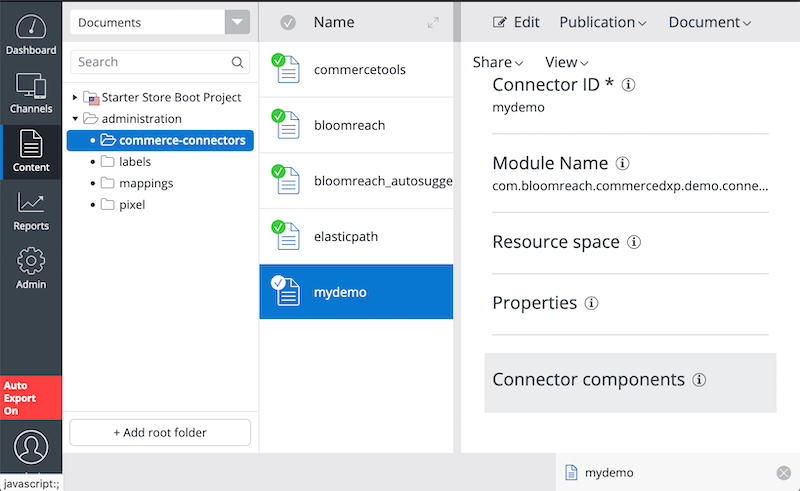
Publish the Commerce Connector document. Now your new B2C Commerce Connector Module named "mydemo" becomes active in the system.
Set Default Connector for Channel
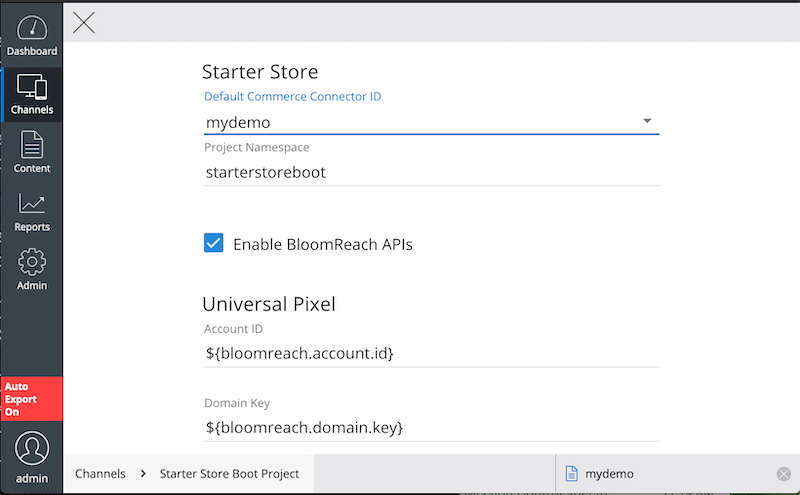
Navigate to the Experience manager and edit the channel settings. In the Bloomreach Commerce Accelerator channel setting section, select "mydemo" as the default Commerce Connector for the channel. Publish the channel so that the delivery tier application will be activated with the channel configuration change. Moreover, don't forget to disable the Bloomereach APIs.
Visit Delivery Application
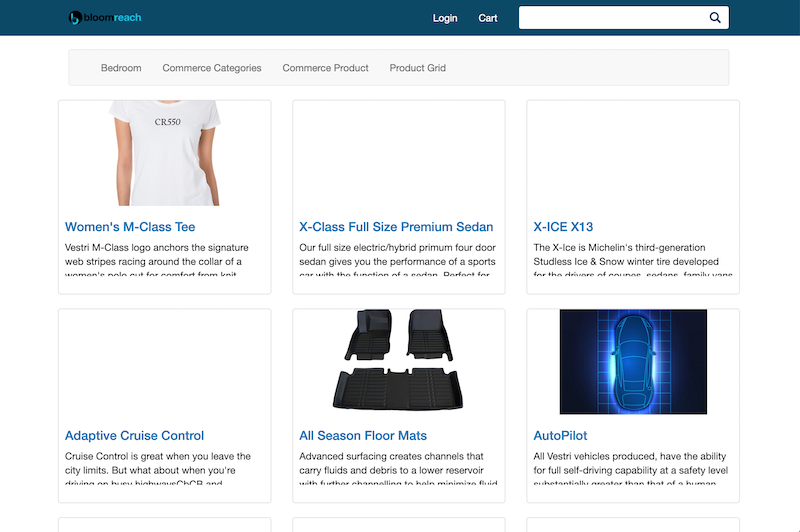
Visit the delivery tier application at http://localhost:8080/site/, and select the Product Grid menu. You will see the product grid page which is filled with the product resources from the B2C Demo Commerce Connector Module.
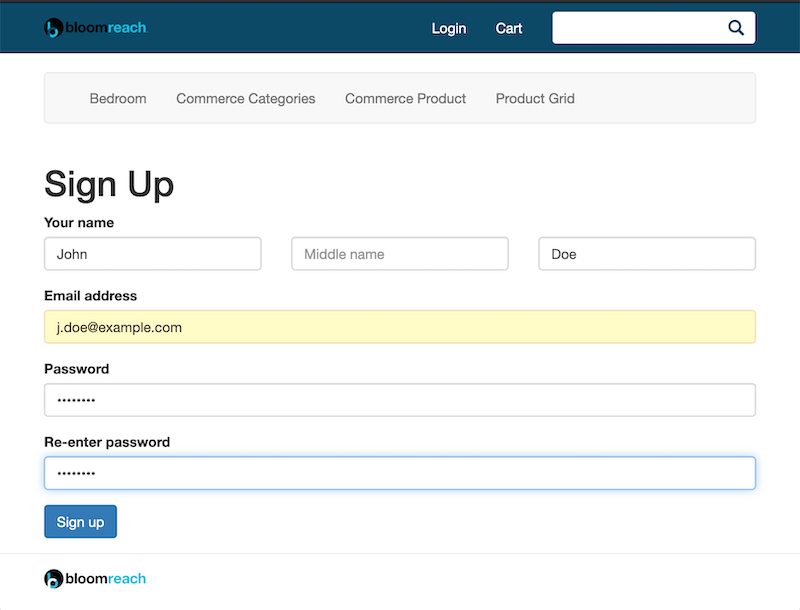
Customer Sign-up
Now, let's test customer sign-up and sign-in features. Click on the Login link and Sign up link afterward in the login page.
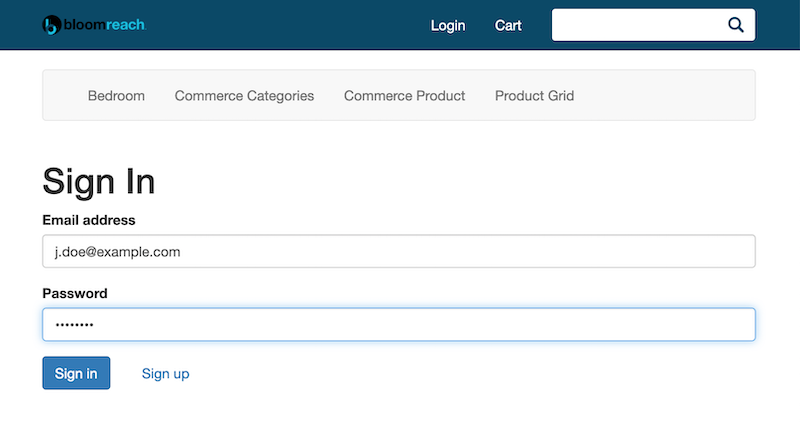
Customer Sign-in
Once you signed up, you may proceed to sign in the system.
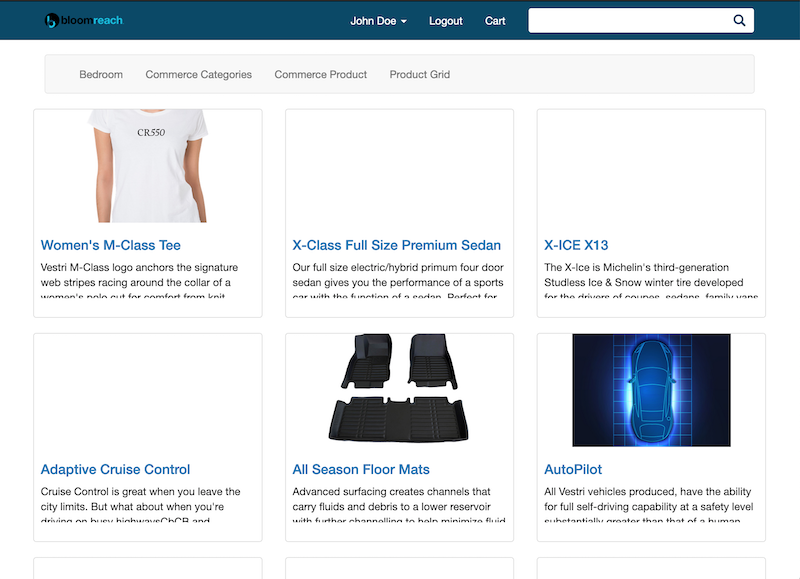
Product Grid Page
Let's visit the Product Grid page again. You will see the same data as seen before. Also, you are recognized as an authenticated customer now.
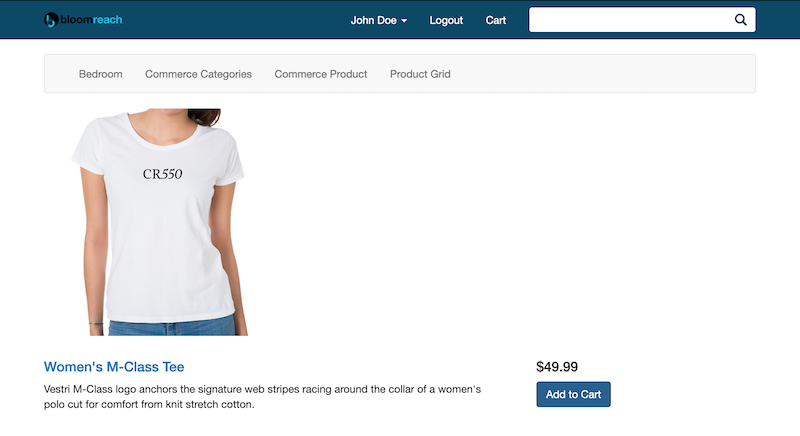
Click on a product item in the grid, and you will navigate to the product detail page.
Product Detail Page and Add to Cart
In the product detail page, you will be able to add the product item to your cart now.
If you click on the Cart menu, you will be able to browse your cart entries and update or delete each entry.