Initialize and configure the AI Content Assistant
This guide walks you through the process of setting up and configuring the BrXM AI Content Assistant using either the Essentials application or your project’s properties file.
Initialize and configure via Essentials
You can initialize and configure the AI Content Assistant with the Essentials application. To do so:
-
Go to Essentials.
-
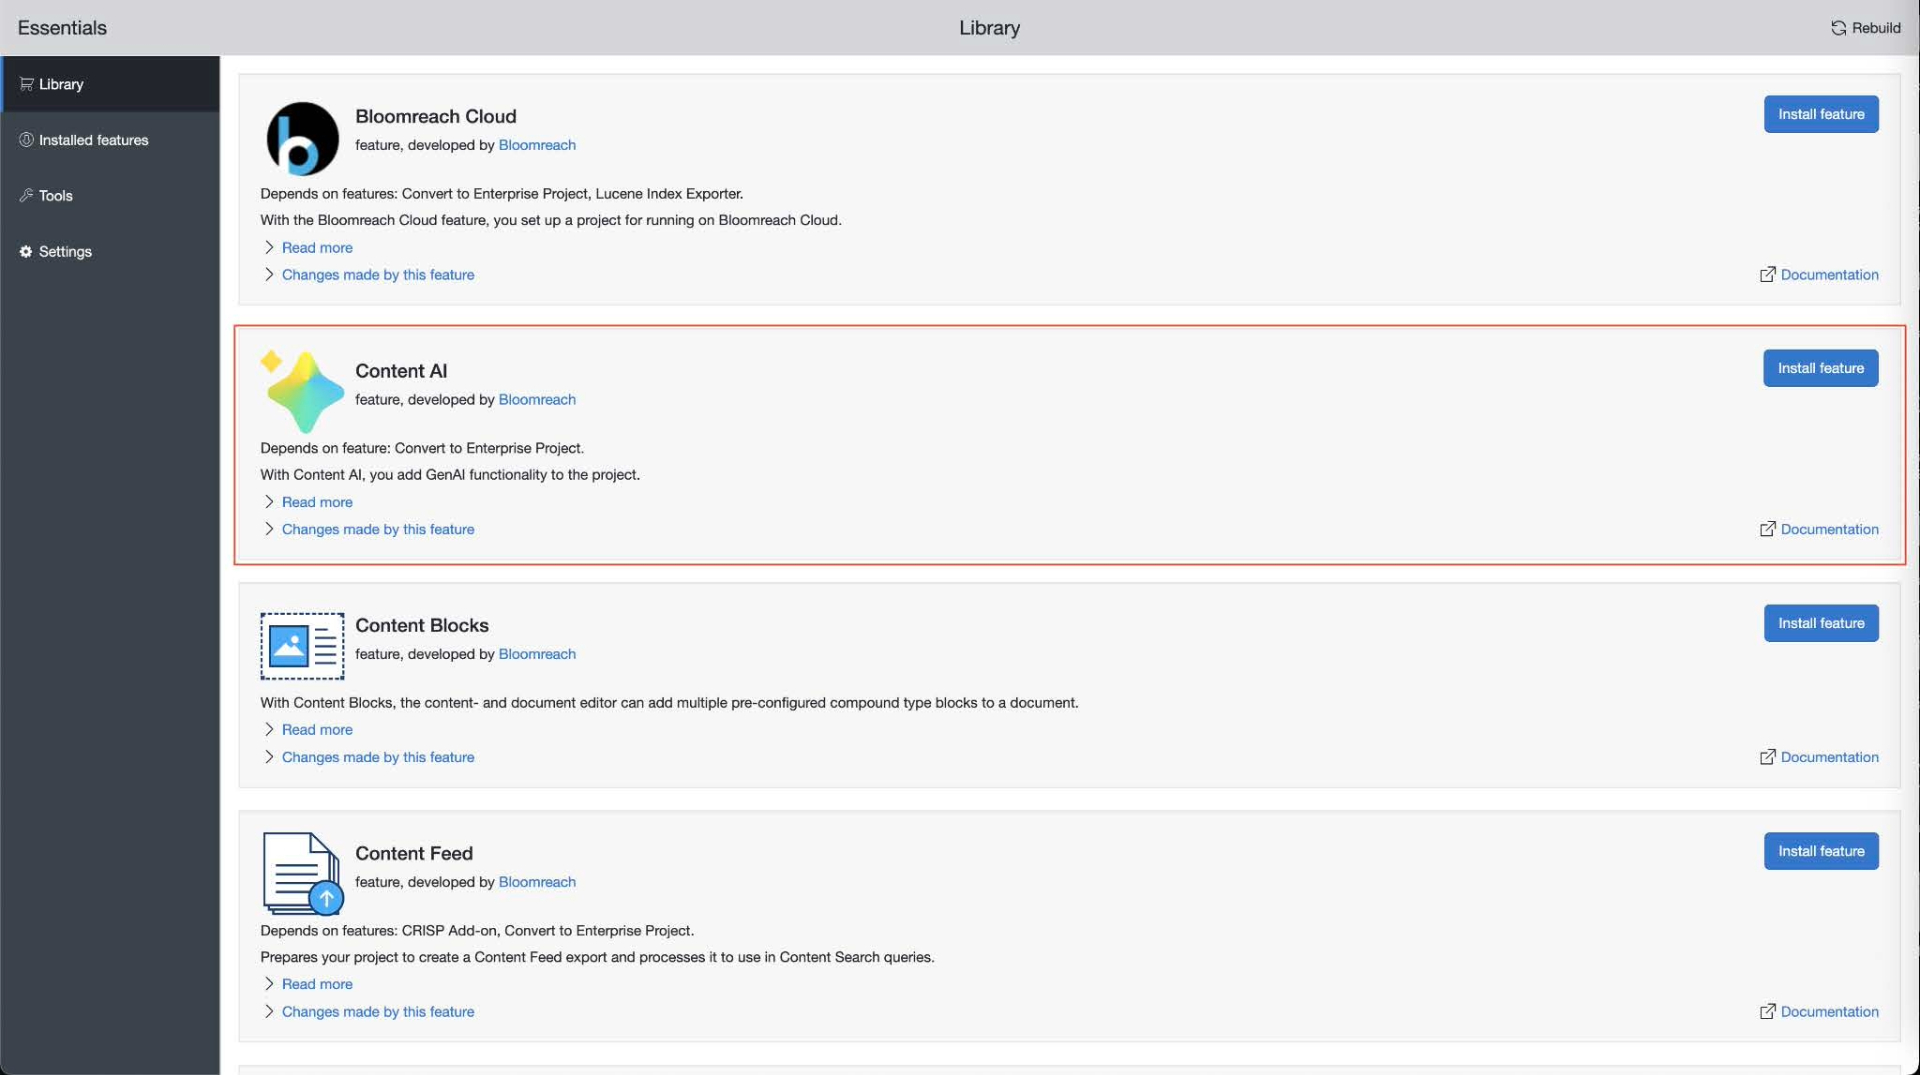
Go to Library - Make sure Enterprise features are enabled.
-
Look for Content AI and click Install feature.

-
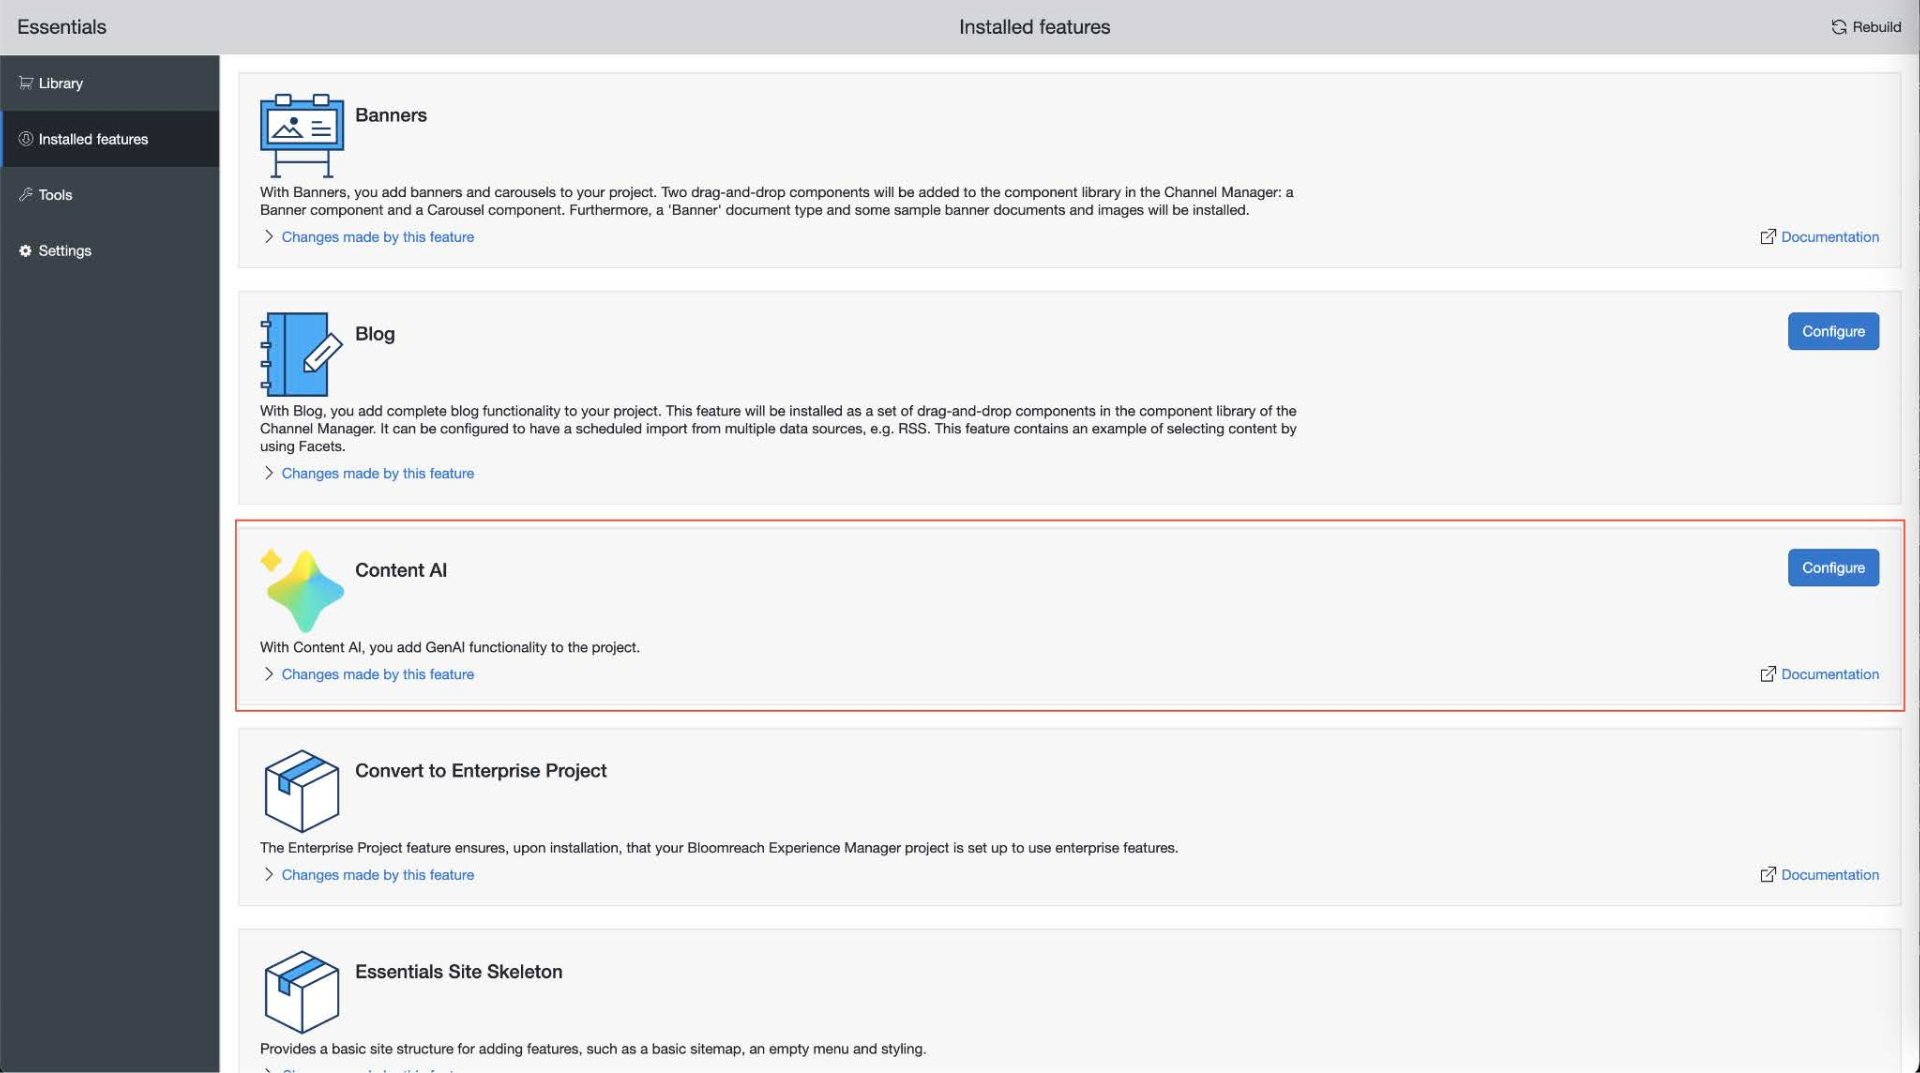
Once your project has restarted, go to Installed features.
-
Find Content AI and click Configure.

-
Choose the desired AI Model from the available options of supported providers.
-
Configure the other details such as API URL (endpoint), API key, and so on. Each provider has different configuration options (see Configuration options section below).

-
Once you’re done, click Save.
-
Lastly, rebuild and restart your project again.
Configuration options
The AI Content Assistant feature only works if you configure the API key / Project ID.
The AI Content Assistant will only be accessible to users with the xm.chatbot.user role (see later section)
We support OpenAI's completions-path option but not yet through essentials. To use it, add the property (spring.ai.openai.chat.completions-path) directly to your jcr configuration.
Each model provider can have different settings to configure, like:
-
API key/project ID: Enter your API key or project ID, depending on your model provider.
-
Model to use: Specify the exact model name and version to use in the AI Assistant. This allows you to choose the best performing model for a particular type of tasks.
-
Temperature: Set the temperature of the model. That controls the creativity, depth and randomness of the ai responses.
-
Max tokens: Specify the maximum number of tokens that can be used by a conversation. This helps you keep your token usage in check, so it doesn't exceed your allowed limit with your AI provider.
-
Max messages: Limit the maximum number of messages allowed in a single conversation. The user will not be allowed to send more messages once they have exhausted the limit, thereby keeping token usage in check.


Configuring the Content Assistant via Essentials results in:
-
Addition of new dependencies in your cms-dependencies pom file.
-
Addition of JCR configuration under /hippo:configuration/hippo:modules/ai-service/hipposys:moduleconfig
1. The intermediate node with the model provider name (for example, /OpenAI) is not needed anymore. Move all its properties one level up (that is, move them under /hippo:configuration/hippo:modules/ai-service/hipposys:moduleconfig)
2. Rename property spring.ai.provider to brxm.ai.provider
Configure via properties files
To configure the Content Assistant in a production ready way, use properties files, in any of the locations listed below. The order of this list is important: we look for properties files in all these locations but if a property is found in more than one files, the property from the location higher in this list takes precedence.
-
System properties passed on the command line
-
A properties file named xm-ai-service.properties, visible in the classpath
-
The project's platform.properties file
More information on managing properties files and System properties is available in the following documentation:
-
For Bloomreach Cloud implementations, Set Environment Configuration Properties
-
For On-premise implementations, HST-2 Container Configuration
Configuration options in properties files
The brxm.ai.provider property is used to specify the name of the model provider. Possible values are: OpenAI, VertexAIGemini, Ollama.
If you use the old name in the Spring AI configuration, kindly update the property name in your Properties file to avoid errors.
The brxm.ai.chat.max-messages property is used to set the maximum number of messages allowed in a single conversation.
Next you need to provide required configuration parameters for your specific provider. Given below are the names of each model provider, and the lists of required and optional properties for each:
OpenAI
-
spring.ai.openai.api.url (required)
-
spring.ai.openai.api_key (required)
-
spring.ai.openai.chat.options.model (required)
-
spring.ai.openai.chat.options.temperature
-
spring.ai.openai.chat.options.maxTokens
-
spring.ai.openai.chat.completions-path
VertexAIGemini
-
spring.ai.vertex.ai.gemini.project-id (required)
-
spring.ai.vertex.ai.gemini.location (required)
-
spring.ai.vertex.ai.gemini.chat.options.model (required)
-
spring.ai.vertex.ai.gemini.chat.options.temperature
-
spring.ai.vertex.ai.gemini.chat.options.max-tokens
Ollama
-
spring.ai.ollama.api.url (required)
-
spring.ai.ollama.chat.options.model (required)
-
spring.ai.ollama.chat.options.model.pull.strategy (required)
LiteLLM
LiteLLM is a versatile LLM model gateway. You can integrate with your LiteLLM account to use your LiteLLM enabled models in the AI Content Assistant.
To configure it, use the following settings:
-
Select the OpenAI connector (as the AI Model if using Essentials/JCR config or as the value of the brxm.ai.provider if using properties file).
-
Enter your LiteLLM API URL and API Key.
-
Enter the Model to use in the format provider/model, for example: openai/gpt-4o.
Grant access to the assistant
The AI Content Assistant is only accessible to users with the xm.chatbot.user role. The role can be assigned to a user either directly or it can be inherited via a group that has it and the user is a member of. See User Management page on how to assign a user role on a user or group. Once the AI plugin is installed, you should be seeing a new user role named xm.chatbot.user.

